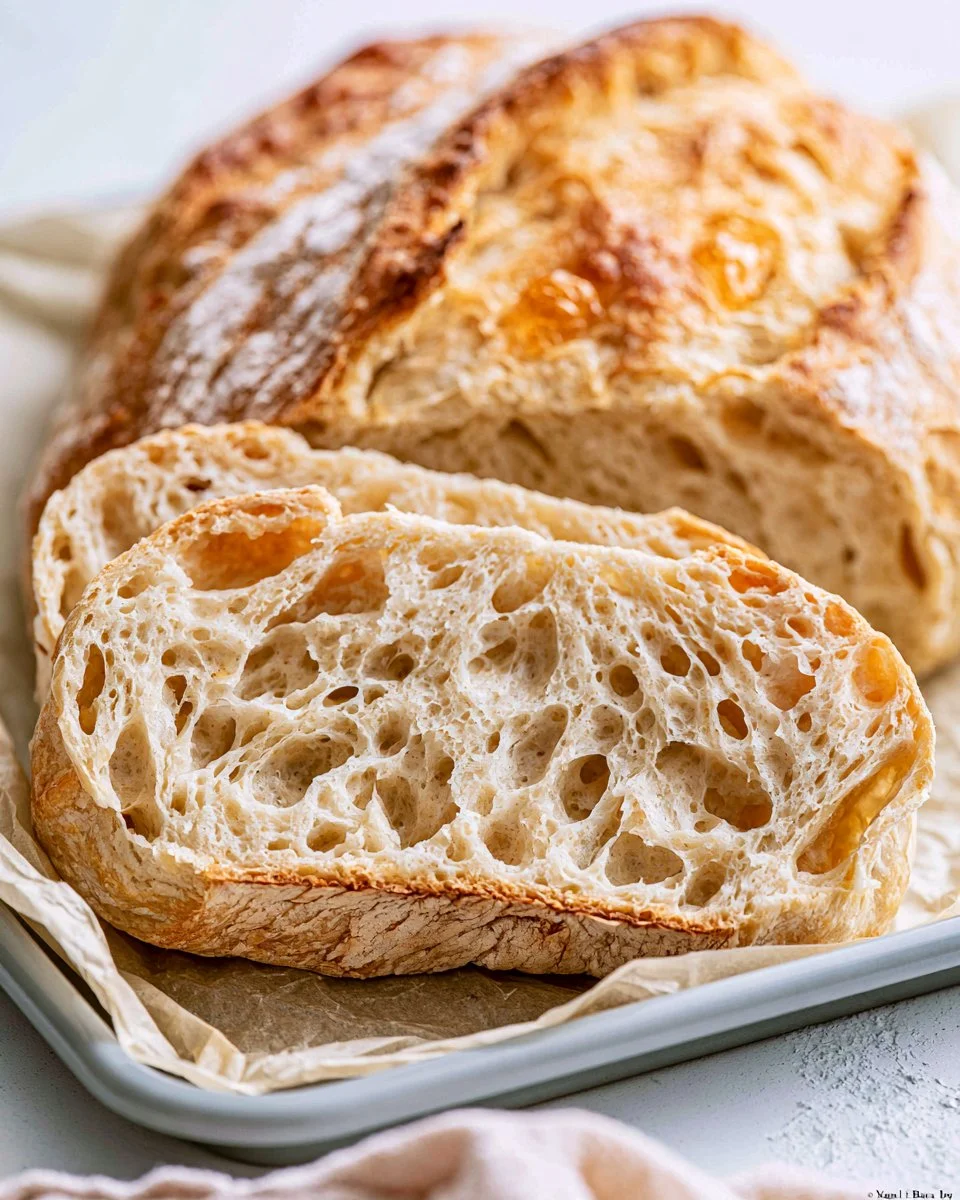
Dutch Oven Bread
Dutch oven bread is a culinary delight that brings the essentials of bread baking into your kitchen with minimal fuss. With just a few simple ingredients, you can create a crusty, artisan loaf that is perfect for any occasion. This recipe is designed to maximize flavor and texture, using the unique heat retention properties of a Dutch oven to mimic the conditions of a professional bakery oven. Whether you’re a seasoned bread maker or a complete novice, this recipe will guide you through each step of the process, ensuring you achieve delicious results every time. Plus, the long fermentation period allows the dough to develop a rich flavor profile that will have everyone asking for seconds. Let’s dive into how you can make your own stunning Dutch oven bread at home!
Quick Answer
This Dutch oven bread recipe uses just four key ingredients and involves minimal hands-on time, making it incredibly accessible and rewarding.
Why You’ll Love This Recipe
This Dutch oven bread recipe is cherished for its simplicity and exceptional flavor. You’ll love how easy it is to prepare the dough the night before, letting it rise slowly at room temperature, which enhances its taste and texture. The result is a beautifully golden crust and a soft, chewy interior that pairs perfectly with butter, soups, or salads. It’s also highly versatile, allowing you to enjoy it as a side dish or the star of your meal. Moreover, the satisfaction of pulling out a freshly baked loaf from your own oven is unmatched, making this recipe a favorite for both weeknight dinners and special gatherings.
What Makes This Recipe Special
This recipe transforms a few basic pantry staples into an extraordinary loaf of bread without the need for specialized equipment or advanced techniques. The Dutch oven creates a steamy environment, which is crucial for achieving that signature crust we all adore. Furthermore, the use of instant yeast simplifies the process by eliminating the need for proofing, allowing for a hassle-free preparation. The extended resting time ensures the dough develops flavor, making each bite a delightful experience. It’s the combination of science and simplicity that sets this recipe apart from others, inviting home bakers of all levels to explore the joys of bread making with confidence.
Kitchen Tools You’ll Need
- Large bowl: For mixing the dough.
- Whisk: To combine the dry ingredients effectively.
- Plastic wrap: For covering the bowl while the dough rises.
- Dutch oven: A 5 to 7 quart size is ideal for baking the bread.
- Parchment paper: To help with transferring and baking the dough.
- Wire rack: For cooling the bread post-baking.
Ingredients
- All-purpose flour: The base ingredient that gives the bread its structure.
- Kosher salt: Enhances flavor and regulates fermentation.
- Instant dry yeast: Responsible for leavening the bread, allowing it to rise.
- Water: Hydrates the dough and activates the yeast.
How to Make Dutch Oven Bread
STEP 1. Mix dry ingredients. In a large bowl, whisk together the flour, salt, and yeast.
STEP 2. Add water. Add the water and stir to combine to form a shaggy, wet dough.
STEP 3. Let rise. Cover with plastic wrap and let sit for 12-18 hours in a draft-free area.
STEP 4. Preheat oven. Preheat the oven to 450 degrees F and place a 5 to 7 quart Dutch oven with the top on into the oven to heat for 30 minutes.
STEP 5. Prepare dough. Lightly dust parchment paper with flour, place the dough in the center, and shape it into a rough ball.
STEP 6. Bake covered. Lower the dough into the heated Dutch oven using the parchment paper. Cover and bake for 30 minutes.
STEP 7. Bake uncovered. Uncover and bake an additional 10-15 minutes until golden brown.
STEP 8. Cool. Let cool on a wire rack before slicing.
Why This Recipe Works
This recipe works because it leverages the Dutch oven’s ability to create a steamy environment that mimics professional baking conditions. The steam helps the dough rise dramatically and form a crispy crust, while the slow fermentation process allows for the development of complex flavors. Using just a handful of ingredients ensures that each element plays a significant role in the final product, resulting in a loaf of bread that is both simple to prepare and stunning to serve. It’s the perfect balance of time and technique that yields a beautiful result with minimal effort.
Pro Tips for Best Results
1. Ensure your ingredients are fresh, especially the yeast, to guarantee a good rise.
2. Use a kitchen scale for measuring ingredients if possible, as it leads to more consistent results.
3. Don’t rush the rising process; allowing the dough to sit for the full 12-18 hours will enhance the flavor.
4. When preheating your Dutch oven, be mindful of the temperature to ensure it reaches the desired heat for optimal baking.
5. For added flavor, consider incorporating herbs or spices into the dough during mixing.
Common Mistakes to Avoid
1. Skipping the resting time can lead to a dense loaf; patience is key.
2. Not preheating the Dutch oven sufficiently can result in an undercooked crust.
3. Avoid using active dry yeast in place of instant yeast; they work differently and can affect the recipe’s outcome.
4. Overworking the dough when shaping can develop too much gluten, leading to a tougher texture.
5. Ignoring the cooling time will result in a gummy loaf, so let it sit before slicing.
Recipe Variations
Try mixing in some herbs like rosemary or thyme for an aromatic twist. For a savory option, you could add in shredded cheese or sun-dried tomatoes. A whole wheat flour substitution can add a nutty flavor and increase fiber content. If you prefer a sweeter bread, incorporate a bit of honey or dried fruit like raisins. Additionally, experimenting with different flours, like rye or spelt, can provide unique flavors and textures.
Nutrition Highlights
| Nutrient | Per Serving |
|---|---|
| Calories | 150 |
| Carbohydrates | 30g |
| Protein | 4g |
| Fat | 1g |
| Sodium | 150mg |
How to Serve Dutch Oven Bread
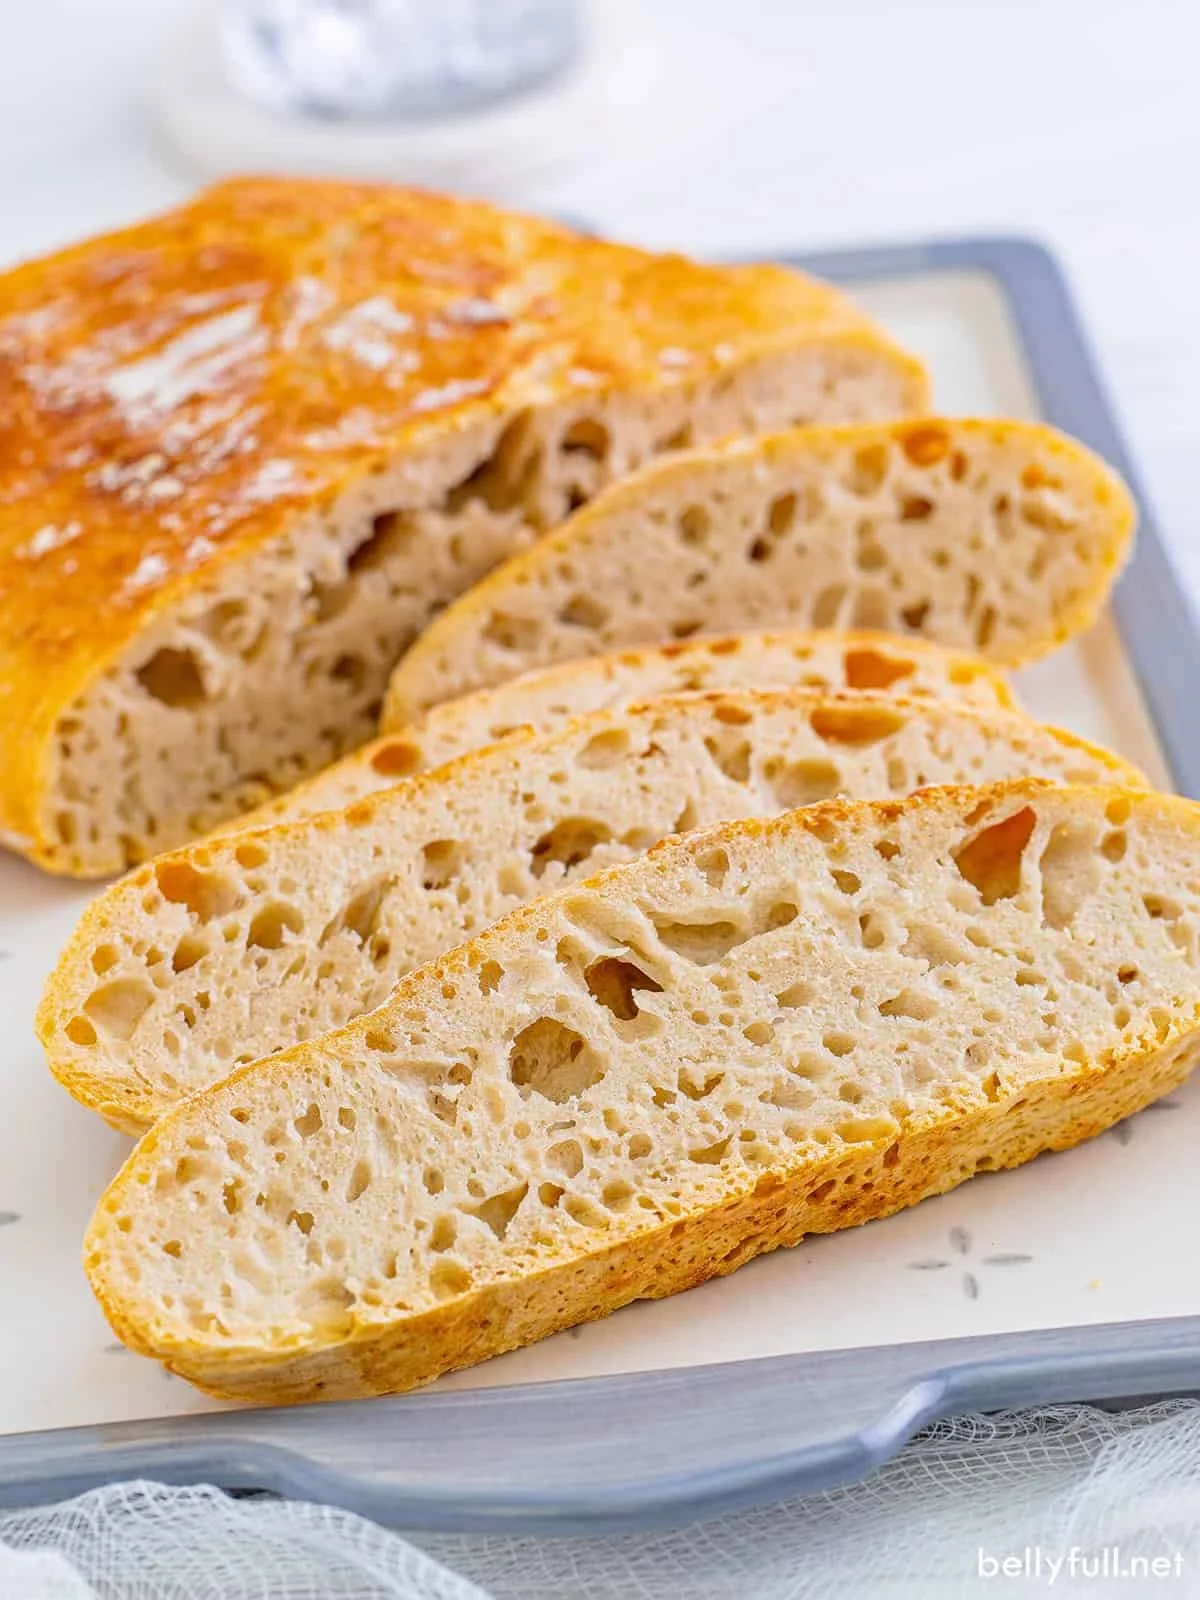
This Dutch oven bread serves beautifully as a side for any meal. You can slice it and serve with butter for a simple appetizer, dip it in soups or stews, or even use it to make sandwiches. Toasting slices adds a delightful crunch, enhancing its texture and flavor. Pair it with gourmet cheeses or a selection of oils and balsamic vinegar for an exquisite addition to your dinner table.
Best Occasions for This Recipe
This recipe is ideal for cozy family dinners, holiday gatherings, or any occasion that calls for fresh bread. It’s perfect for Sunday brunches alongside eggs or for creating the ultimate sandwich at a picnic. The impressive presentation of a homemade loaf also makes it a thoughtful gift for friends or neighbors during the holidays or as a housewarming treat.
Make Ahead & Storage
This bread can be easily made in advance, as the dough can be mixed and left to rise overnight. Once baked, it’s best enjoyed fresh but can be stored for later enjoyment.
Meal Prep
You can prepare the dough ahead of time and let it rise overnight. This way, you can bake it fresh the following day without extra effort.
Refrigeration
Store sliced bread in an airtight container at room temperature for up to three days. It may become stale over time, so consider wrapping it in foil to maintain moisture.
Freezing
If you’d like to save some for later, the bread freezes exceptionally well. Wrap it tightly in plastic wrap and then place it in a freezer bag. It can be stored for up to three months.
Reheating
To reheat, simply place the slices in a toaster oven or conventional oven at 350 degrees F for a few minutes until warmed through. Alternatively, you can enjoy it toasted or straight from the freezer.
FAQs
Can I use active dry yeast instead of instant yeast? While you can, instant yeast generally provides better results, particularly for this long fermentation process.
What is the best way to know if my bread is done baking? The bread should be a deep golden brown and sound hollow when tapped on the bottom. A thermometer inserted should read about 200 degrees F.
Do I have to use a Dutch oven? While a Dutch oven is ideal for its heat retention, you can use any oven-safe pot with a lid; just be sure it can withstand high temperatures.
What if my dough is too sticky? If the dough is excessively sticky, you can add a little more flour while kneading or shaping, but be careful not to overdo it.
Can I make this bread with whole grain flour? Yes, but you may need to adjust the amount of liquid since whole grain flour absorbs more moisture.
Save This Recipe for Later
Bookmark this Dutch oven bread recipe or save it to your favorite recipe board on Pinterest for a perfect reference on your next baking adventure!
Final Thoughts
Dutch oven bread is not just about feeding your hunger; it’s about the joy of baking and creating something special from scratch. With this recipe, you’ll discover how easy and rewarding it can be to bring a bistro-style loaf to your kitchen table. Enjoy every bite!