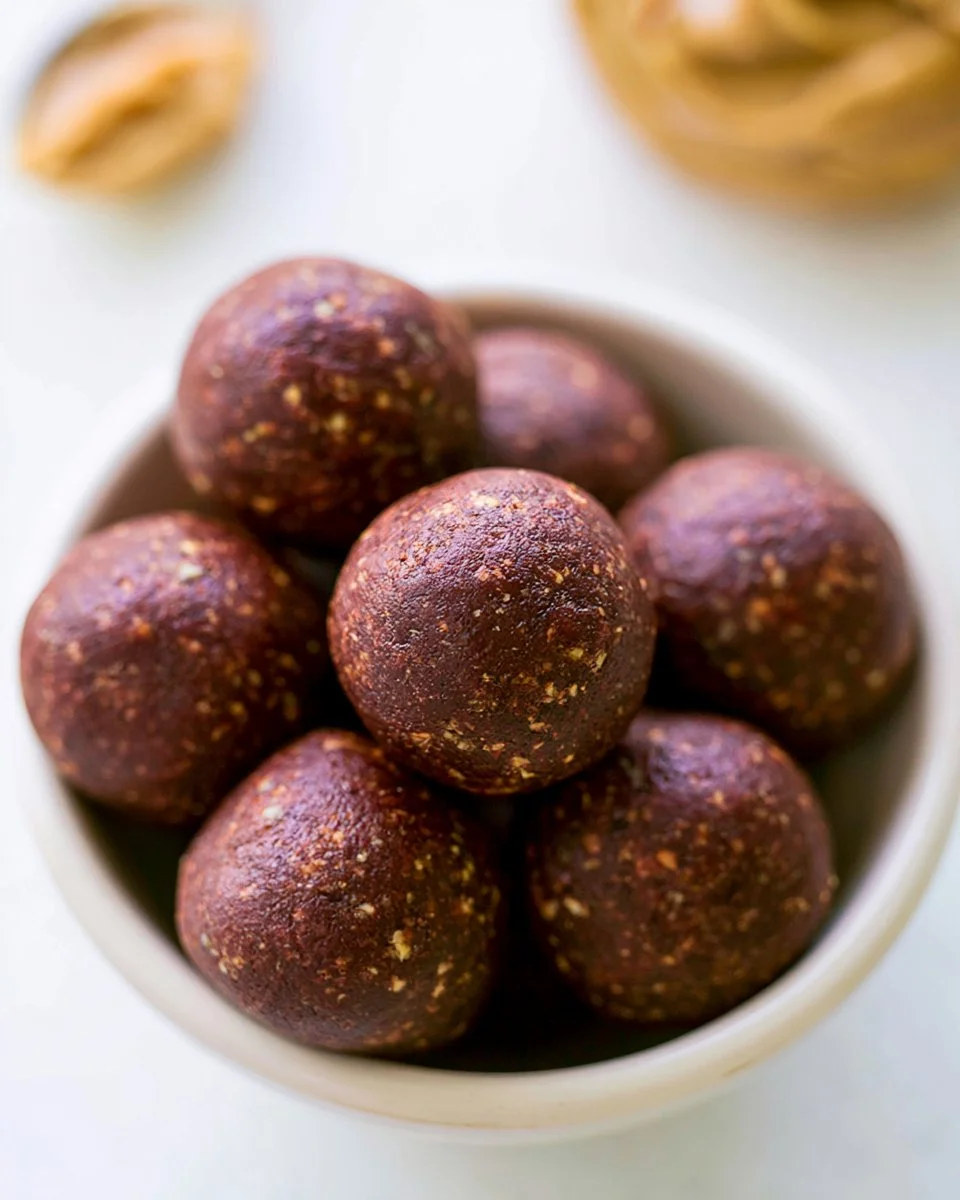
Peanut Butter Energy Balls
If you’re in search of a delightful treat that satisfies your sweet cravings while boosting your energy levels, look no further than these delicious bites! These energy balls are perfect for a quick snack, a post-workout boost, or a healthy addition to your meal prep routine. Packed with wholesome ingredients, they are a perfect fit for families seeking nutritious options without sacrificing flavor. With each bite, you will experience a rich, nutty taste complemented with a hint of cocoa, making them a fantastic choice for calorie-conscious individuals focused on their nutrition goals. Ready to whip up a batch that everyone will love? Let’s dive in!
Quick Answer
These nutritious energy balls are made primarily from oats, dates, peanut butter, coconut flakes, and cocoa powder, offering a wholesome, no-bake option that is both delicious and energizing.
Why You’ll Love This Recipe
These energy balls offer a delightful blend of flavors and health benefits. Here are a few reasons you’ll enjoy making them:
- Quick and Easy: Prepare them in under an hour.
- Nutrient-Dense: Each ingredient is packed with essential nutrients.
- Customizable: You can experiment with different add-ins!
- Kid-Friendly: A fun treat that children will love.
- Perfect for Meal Prep: These are ideal for on-the-go snacking.
- Rich in Protein: Great for post-workout fuel.
- No Baking Required: Simple steps for a quick preparation.
What Makes This Recipe Special
What sets these energy balls apart is their unique combination of hearty oats, naturally sweet dates, creamy peanut butter, and rich cocoa flavor. Unlike store-bought snacks that are often loaded with artificial ingredients and sugar, this homemade version provides a wholesome alternative that nourishes your body. The inclusion of shredded coconut not only enhances the texture but also adds a tropical twist, making these bites even more enjoyable. They’re perfect for busy lifestyles, giving you a nutritious option that you can grab at any moment.
Kitchen Tools You’ll Need
- Food processor
- Mixing bowl
- Saran wrap
- Cookie scoop (optional)
- Refrigerator
Ingredients
old fashioned oats: Provides a hearty base and adds fiber.
dates: Naturally sweet and great for binding ingredients together.
peanut butter: Adds creaminess and healthy fats.
shredded unsweetened coconut flakes: Brings texture and a subtle sweetness.
cocoa/cacao powder: Gives the energy balls a rich chocolate flavor.
Ready to cook? Scroll to the recipe card below for exact measurements.
How to Make Peanut Butter Energy Balls
STEP 1. Grind the oats and dates. Use a food processor to blend these until a paste begins to form.
STEP 2. Add remaining ingredients. Incorporate the peanut butter, coconut flakes, and cocoa powder until fully mixed and the mixture starts to turn into a dough.
STEP 3. Form the balls. Roll the mixture into round shapes, using saran wrap to help mold them into circles. Alternatively, use a tablespoon cookie scoop for an easier method.
STEP 4. Chill to set. Place the energy balls in the refrigerator for at least an hour before enjoying.
Why This Recipe Works
These energy balls are easy to make, requiring minimal time and effort for maximum satisfaction. The combination of natural sweetness from dates and the richness of peanut butter makes for a perfect balance. Rich in nutrients, they deliver healthy fats, fiber, and protein, which work together to keep you feeling full and energized throughout the day. It’s a straightforward recipe that yields a delightful snack, ready to be packed for lunch boxes or quick family meals, ensuring that healthy choices are always at your fingertips.
Pro Tips for Best Results
- Ensure your dates are fresh and sticky to help the mixture bind well.
- Chill your energy balls longer if you prefer them firmer.
- Experiment by adding seeds or nuts for an extra crunch.
- Use natural peanut butter for a healthier option; stir well before using.
- Keep hands wet while rolling to prevent sticking.
Common Mistakes to Avoid
- Not processing the oats and dates thoroughly can affect the texture.
- Making the balls too big can lead to uneven setting.
- Skipping the chilling step can result in softer bites that fall apart.
- Using sweetened coconut can increase the sugar content unnecessarily.
- Not adjusting ingredient ratios can lead to a dry or too sticky mixture.
Recipe Variations
- Add dried fruits such as cranberries or raisins for additional sweetness.
- Mix in some nuts like almonds or walnuts for extra crunch.
- For a protein boost, consider adding protein powder to the mixture.
- Use almond or cashew butter instead of peanut butter for a different flavor.
- Try flavor extracts like vanilla or almond to enhance taste.
Nutrition Highlights
| Nutrient | Amount (per serving) |
|---|---|
| Protein | 4g |
| Fiber | 3g |
| Carbohydrates | 18g |
| Fats | 6g |
How to Serve Peanut Butter Energy Balls
These energy balls make an excellent snack at any time of day. They’re perfect for a quick breakfast on the go or an afternoon pick-me-up. Pair them with a glass of milk or a fruit smoothie for a refreshing combination. You can also consider using them as a topping for yogurt or oatmeal for added nutrition and flavor. The flexible nature of these bites allows them to blend seamlessly into various meals and occasions.
Best Occasions for This Recipe
These energy bites are ideal for birthday parties, family gatherings, or casual afternoons at home. They also serve as a fantastic addition to lunch boxes for both kids and adults, making healthy meal planning effortless. Whether you’re prepping for a long hike or simply looking for a nutritious snack post-workout, these bites meet a variety of needs, ensuring that you always have a healthy option handy.
Make Ahead & Storage
To fully enjoy your homemade energy balls, consider the following storage options:
Meal Prep
Preparing these energy balls in advance can save time during busy weeks. They can be made and stored in an airtight container to maintain freshness.
Refrigeration
Store your energy balls in the fridge to keep them firm and ensure they last longer. They are best enjoyed within a week.
Freezing
For longer storage, these bites can be frozen for up to three months. Simply place them in a freezer-safe bag or container.
Reheating
These energy balls can be enjoyed straight from the freezer or fridge. There’s no need for reheating, making them a perfect on-the-go snack.
FAQs
How should I store the energy balls?
Keep them in an airtight container in the refrigerator for optimal freshness. You can also freeze them for longer storage.
Can I substitute ingredients in this recipe?
Yes! You can swap peanut butter for another nut or seed butter, and use different add-ins like seeds or nuts to customize it to your liking.
How long do they take to prepare?
These energy balls can be made quickly, typically in about 15-20 minutes, plus chilling time.
What should I do if the mixture is too sticky?
If the mixture is too sticky, try adding a bit more oats or cocoa powder to help thicken it up.
Can kids help in making this recipe?
Absolutely! This recipe is great for kids, as they can assist in rolling the balls and mixing the ingredients together.
Save This Recipe for Later
Don’t forget to bookmark this recipe for easy access later! It’s a fantastic option for anyone looking to inject some wholesome energy into their busy days.
Final Thoughts
These energy balls not only provide a delicious snack but also cater to a variety of dietary needs. Their nutritious ingredients ensure you stay on top of your health goals while enjoying a satisfying treat. Take the time to make a batch, and don’t forget to share them with family and friends—they’re sure to be a hit!
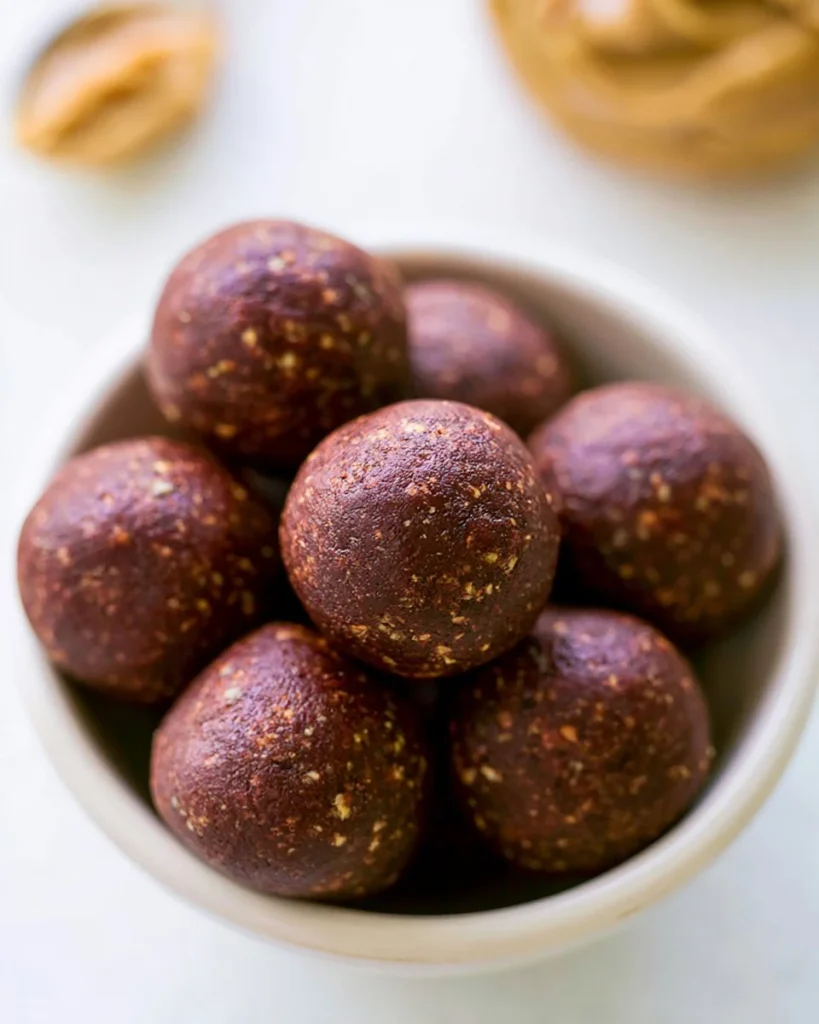
Peanut Butter Energy Balls
Ingredients
Method
- Use a food processor to blend the oats and dates until a paste begins to form.
- Incorporate the peanut butter, coconut flakes, and cocoa powder into the mixture until fully combined and it starts to resemble a dough.
- Roll the mixture into round balls, using saran wrap to mold them into circles or a cookie scoop for easier shaping.
- Chill the energy balls in the refrigerator for at least an hour before enjoying.