Easy Dill Pickles for Canning
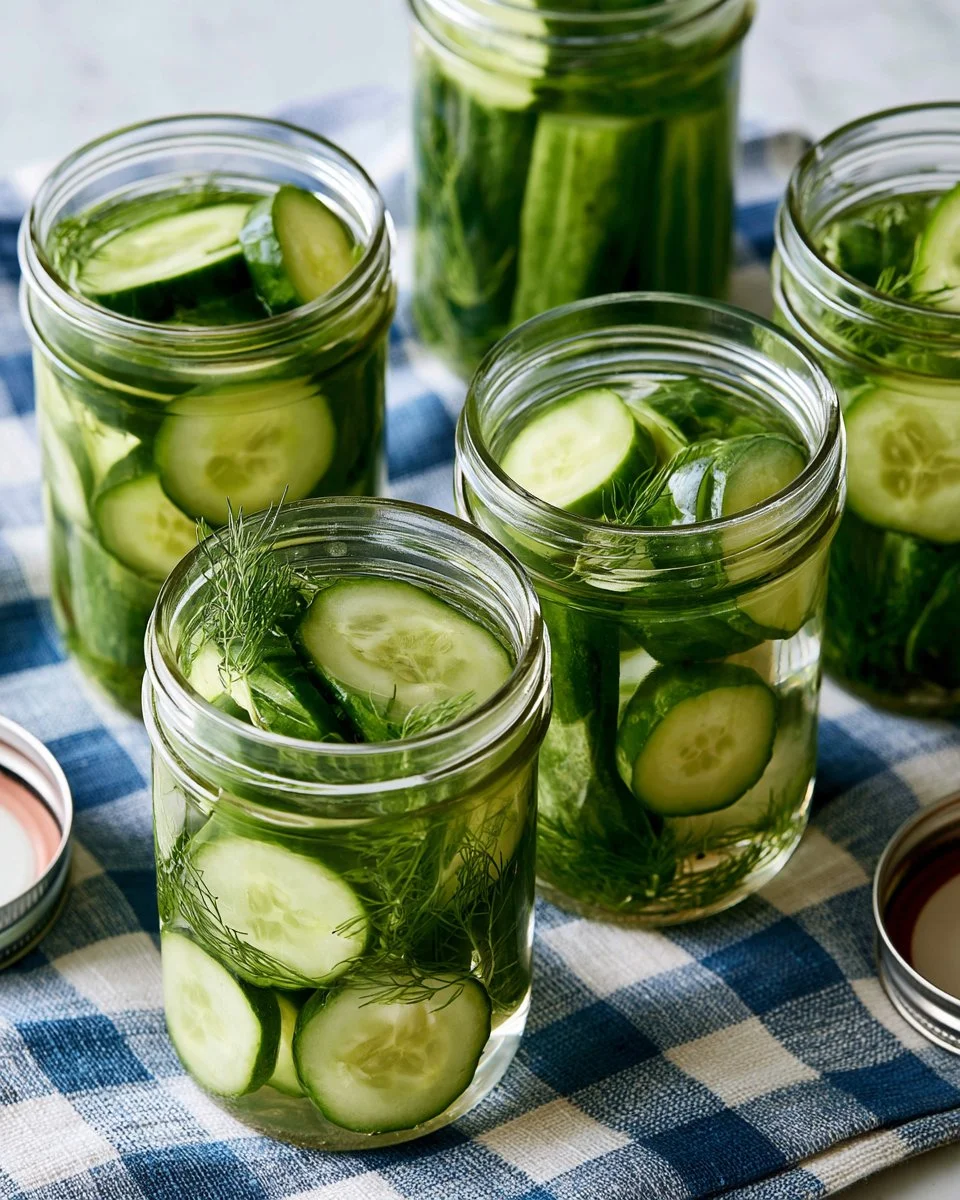
If you’re looking for a refreshing and crunchy addition to your meals, look no further than these Easy Dill Pickles for Canning. Canning your own pickles is not just a great way to preserve a bountiful cucumber harvest, but it also allows you to customize the flavors to your liking. Whether you prefer them sour, garlicky, or mildly spiced, this recipe makes it easy to create your perfect pickle. With minimal ingredients and straightforward steps, you’ll be delighted by how simple it is to make delicious pickles that can be stored for months.
Using just fresh cucumbers, dill, garlic, and a few pantry staples, you can transform ordinary cucumbers into tart and tangy pickles. The crunch and zest you get from homemade dill pickles are unmatched. Moreover, this recipe guides you through the canning process, ensuring that your pickles are shelf-stable and ready to enjoy at any moment. So grab your canning jars, and let’s start making some delectable dill pickles!
Quick Answer
Easy Dill Pickles for Canning are a simple way to enjoy fresh, homemade pickles. This recipe yields about 4 half-pint jars, perfect for summer barbecues or snacking. Prepare them in just a few hours, and enjoy crisp pickles in days!
Why You’ll Love This Recipe
Homemade dill pickles are not only delicious, but they also offer a personalized touch to your meals. You have complete control over the ingredients and can tweak flavors according to your preferences. Additionally, the satisfaction of preserving your own food is deeply rewarding. These Easy Dill Pickles for Canning are the epitome of versatility; use them in sandwiches, burgers, or as a side dish to brighten up your plate. With this recipe, the bright flavors of fresh dill and garlic infuse each bite, delivering a delightful crunch and sharpness. You’ll never want store-bought pickles again once you discover how easy and satisfying it is to make your own at home!
What Makes This Recipe Special
This recipe stands out because it combines simplicity and flavor. Rather than complex ingredients, it relies on fresh produce and pantry staples, ensuring accessibility for everyone. The addition of fresh dill and garlic elevates the taste, creating irresistible, flavorful pickles that pair well with many dishes. Additionally, the canning process locks in flavors and preserves the pickles for up to a year, making them a perfect go-to snack or condiment. With a straightforward approach, you’ll find canning less intimidating and more enjoyable, allowing you to share homemade goodness with friends and family.
Kitchen Tools You’ll Need
- Large pot: For boiling the jars and canning liquid.
- Canning rack: To hold jars while processing.
- Jar lifter: To safely remove hot jars from boiling water.
- Measuring cups: For accurately measuring liquids and ingredients.
- Liquid measuring cup: To pour the hot brine into the jars.
- Sterilized jars and lids: For canning your pickles effectively.
Ingredients
- Pickling cucumbers: The main ingredient for your pickles, providing crunch.
- Fresh dill weed or dried dill: Adds the classic herby flavor.
- Garlic: Imparts a savory depth to your pickles.
- Calcium chloride granules: Optional, but helps maintain crispness.
- Water: Base of the brine mixture.
- Apple cider vinegar or white distilled vinegar: Provides acidity for preservation.
- Pickling salt: Enhances flavor and is essential for pickling.
How to Make Easy Dill Pickles for Canning
STEP 1. Prepare boiling water. Bring a very large pot of water to a boil. Place canning rack or round cooling rack in the pot.
STEP 2. Wash and sterilize jars. Wash jars in soapy hot water. Sterilize in boiling water for 5 minutes and let dry.
STEP 3. Prepare cucumbers. Peel the cucumbers, if desired. Slice the cucumbers 1/8 to 1/4-inch thick if making hamburger chips. For pickle spears, slice each cucumber vertically into 4 spears.
STEP 4. Pack jars. Place one bunch of dill and 1 to 2 garlic clove halves in each jar. Arrange the pickle slices or spears in the jars, packing firmly. Be sure to leave 1/2 inch headspace at the top.
STEP 5. Add calcium chloride. Add 1/8 teaspoon calcium chloride (Pickle Crisp) to each half-pint jar.
STEP 6. Make brine. In a large saucepan, combine water, vinegar, and salt. Bring to a boil over medium heat, stirring often.
STEP 7. Fill jars. Using a liquid measuring cup or ladle, pour enough vinegar mixture over the cucumbers, leaving a 1 inch headspace at the top of the jar.
STEP 8. Seal jars. Add the lids and twist on the jar bands.
STEP 9. Water bath canning. Lower the jars into the boiling water with the rack positioned in the bottom with a canning jar lifter. Make sure there is 1 inch of water above the top of the jar. Boil half-pint and pint jars for 10 minutes and quart jars for 15 minutes.
STEP 10. Cool jars. Carefully remove the jars with the jar lifter and let cool completely.
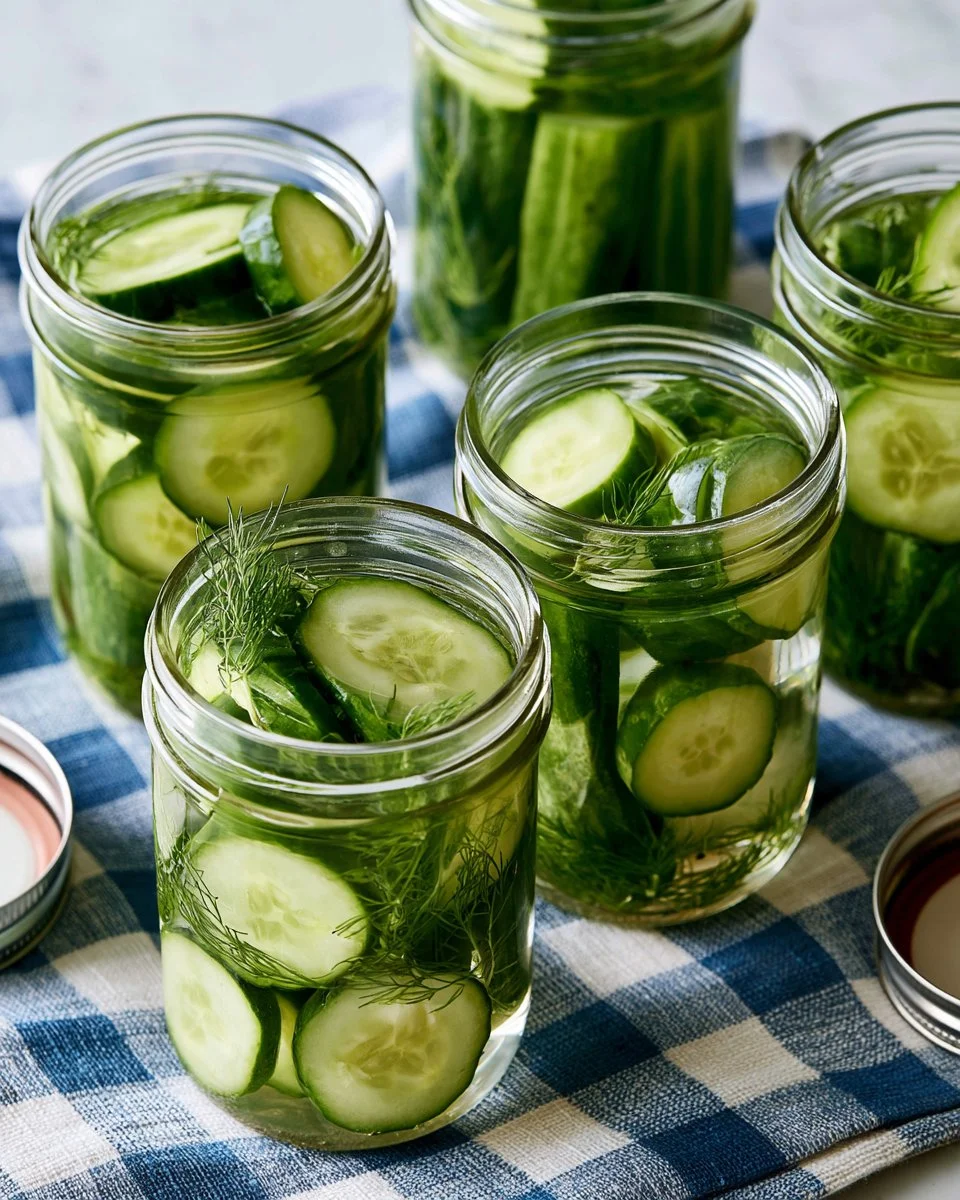
STEP 11. Enjoy your pickles. Pickles are ready to eat in 24 hours but even better in 3 days. Store in refrigerator up to 2 or 3 weeks. Store in a cool dark place up to 1 year and sometimes longer.
Why This Recipe Works
This dill pickle recipe is effective due to its balanced ingredients and straightforward method. The combination of apple cider vinegar and pickling salt creates the perfect tangy brine, while the fresh dill and garlic elevate the overall flavor. The calcium chloride is optional but helpful if you prefer extra crunch in your pickles. The water bath canning method ensures that your pickles are safe for longer storage, locking in the flavor and freshness for months. Following these steps guarantees a successful outcome, delivering perfectly crisp and flavorful dill pickles every time.
Pro Tips for Best Results
1. Choose firm, small cucumbers for the best crunch.
2. Ensure that all jars are well sterilized to prevent spoilage.
3. Adjust the garlic and dill to suit your taste preferences; the more, the better if you love those flavors.
4. Be precise with headspace in the jars to ensure proper sealing during the canning process.
5. Allow the pickles to rest for a few days to develop their flavors before consuming.
Common Mistakes to Avoid
Avoid using larger cucumbers, as they tend to be less crunchy. Always use fresh, high-quality ingredients. Don’t skip the sterilization process; it’s crucial for safety and preserving quality. Ensure you have proper headspace in the jars; too little or too much can compromise the seal. If you find your pickles too sour, experiment with reducing the vinegar in future batches to find your ideal balance.
Recipe Variations
Experiment with different herbs like thyme or oregano for a unique flavor twist. If you enjoy heat, consider adding red pepper flakes or sliced jalapeños to your jars. For sweeter pickles, incorporate sugar into the brine. You may also try various types of vinegar for different flavor profiles, such as malt vinegar or rice vinegar. Lastly, use a mix of pickle sizes for visual appeal and variety in texture!
Nutrition Highlights
| Nutrient | Amount per serving |
|---|---|
| Calories | 15 |
| Total Fat | 0g |
| Sodium | 350mg |
| Total Carbohydrates | 4g |
| Sugars | 1g |
| Protein | 1g |
How to Serve Easy Dill Pickles for Canning
Easy Dill Pickles complement a variety of dishes. Serve them alongside sandwiches or burgers to add a zesty crunch. Pair them with charcuterie boards, serving them with meats and cheeses for extra flavor. You can also add sliced pickles to salads or potato salad for a tangy twist. They make for a fantastic snack straight from the jar, perfect for a quick bite on the go!
Best Occasions for This Recipe
These dill pickles are perfect for summer picnics, barbecues, and holiday gatherings. They can be enjoyed during family dinners, adding a vibrant touch to classic meals, or served at game days for a tangy side dish. They also make great gifts; share your homemade pickles with friends and family during the holiday season or as housewarming treats!
Make Ahead & Storage
This recipe is excellent for meal prep; you can make a large batch and enjoy your pickles for months. Since they can be stored for long periods, canning is an ideal way to enjoy cucumbers year-round.
Meal Prep
Prepare your jars and ingredients in advance, allowing for a quicker canning process. You can make these pickles any time of the year if you have cucumbers on hand.
Refrigeration
Once opened, store your pickles in the refrigerator, where they will last up to 2 or 3 weeks.
Freezing
Freezing is not recommended for canned pickles, as it alters their texture.
Reheating
There’s no need to reheat pickles; they can be enjoyed straight from the jar!
FAQs
How long do homemade pickles last? Properly canned, they can last up to a year stored in a cool, dark place. Once opened, refrigerate and consume within 2-3 weeks.
Can I use other types of cucumbers? While pickling cucumbers are preferred, English cucumbers will also work. Larger varieties might yield softer pickles.
How can I make my pickles crunchier? Adding calcium chloride during the canning process helps maintain crunch. Additionally, using fresher cucumbers with less moisture will contribute to a crisper texture.
What is the best vinegar to use for pickling? Apple cider vinegar and white distilled vinegar are commonly used because they provide great acidity and flavor without overpowering.
Can I double this recipe? Yes, you can double the ingredients to make more pickles, but be sure to process in batches to maintain even cooking.
Save This Recipe for Later
If you’re ready to jump into the world of canning, bookmark this page or save it to your favorite recipe board on Pinterest. You’ll want to revisit this recipe again and again!
Final Thoughts
Making these Easy Dill Pickles for Canning is a rewarding experience that offers both delicious results and a sense of accomplishment. With just a few simple ingredients and steps, you can enjoy homemade pickles year-round. Whether you’re a seasoned canner or just starting, this recipe is approachable and enjoyable. Happy pickling!
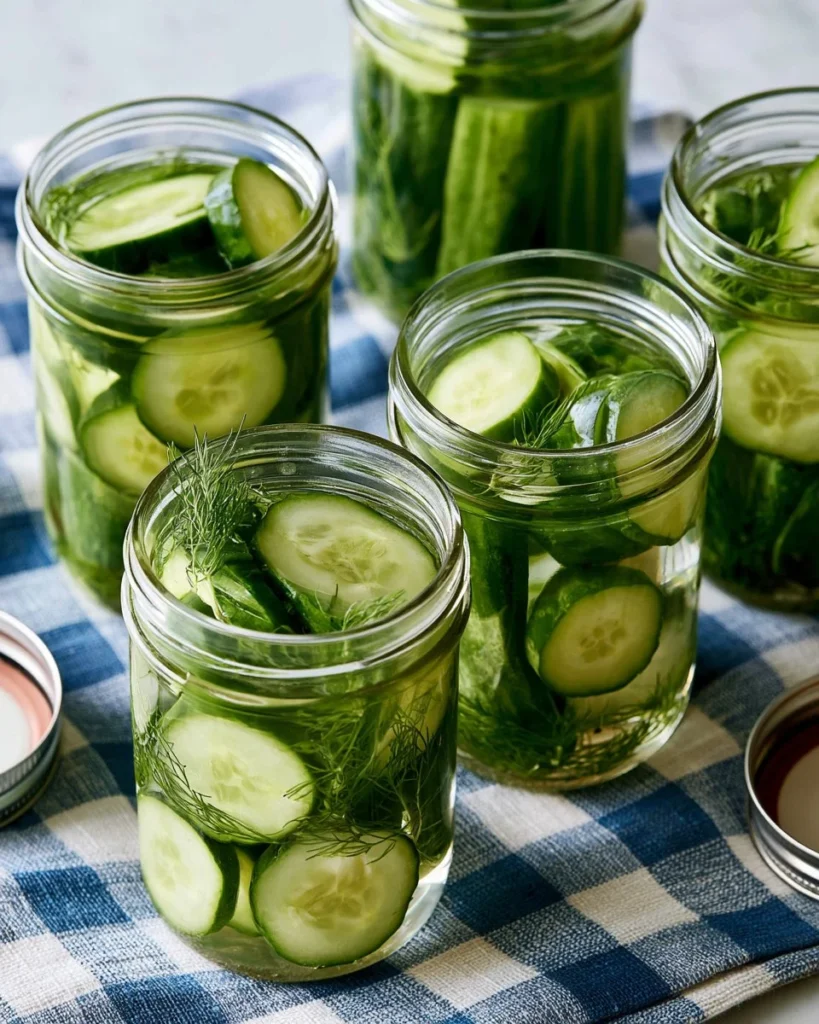
Easy Dill Pickles for Canning
Ingredients
Method
- Prepare boiling water by bringing a very large pot of water to a boil and place a canning rack or round cooling rack in the pot.
- Wash jars in soapy hot water. Sterilize them in boiling water for 5 minutes and let dry.
- Peel cucumbers if desired. Slice them 1/8 to 1/4-inch thick for hamburger chips or slice vertically into 4 spears for pickle spears.
- Pack jars by placing one bunch of dill and 1 to 2 garlic clove halves in each jar, then arrange the cucumber slices or spears firmly inside. Be sure to leave a 1/2 inch headspace at the top.
- Add 1/8 teaspoon of calcium chloride (Pickle Crisp) to each half-pint jar.
- Make brine by combining water, vinegar, and salt in a large saucepan. Bring to a boil over medium heat, stirring often.
- Using a liquid measuring cup or ladle, pour the vinegar mixture over the cucumbers, leaving a 1 inch headspace at the top of each jar.
- Add the lids and twist on the jar bands.
- For water bath canning, lower the jars into the boiling water with the rack positioned at the bottom. Make sure there is 1 inch of water above the top of the jar. Boil half-pint and pint jars for 10 minutes.
- Carefully remove the jars using a jar lifter and let them cool completely.
- Pickles are ready to eat in 24 hours but are even better after 3 days. Store in the refrigerator for up to 2 or 3 weeks or in a cool dark place for up to 1 year.