Jalapeño Pepper Jelly Recipe for Canning or Freezing
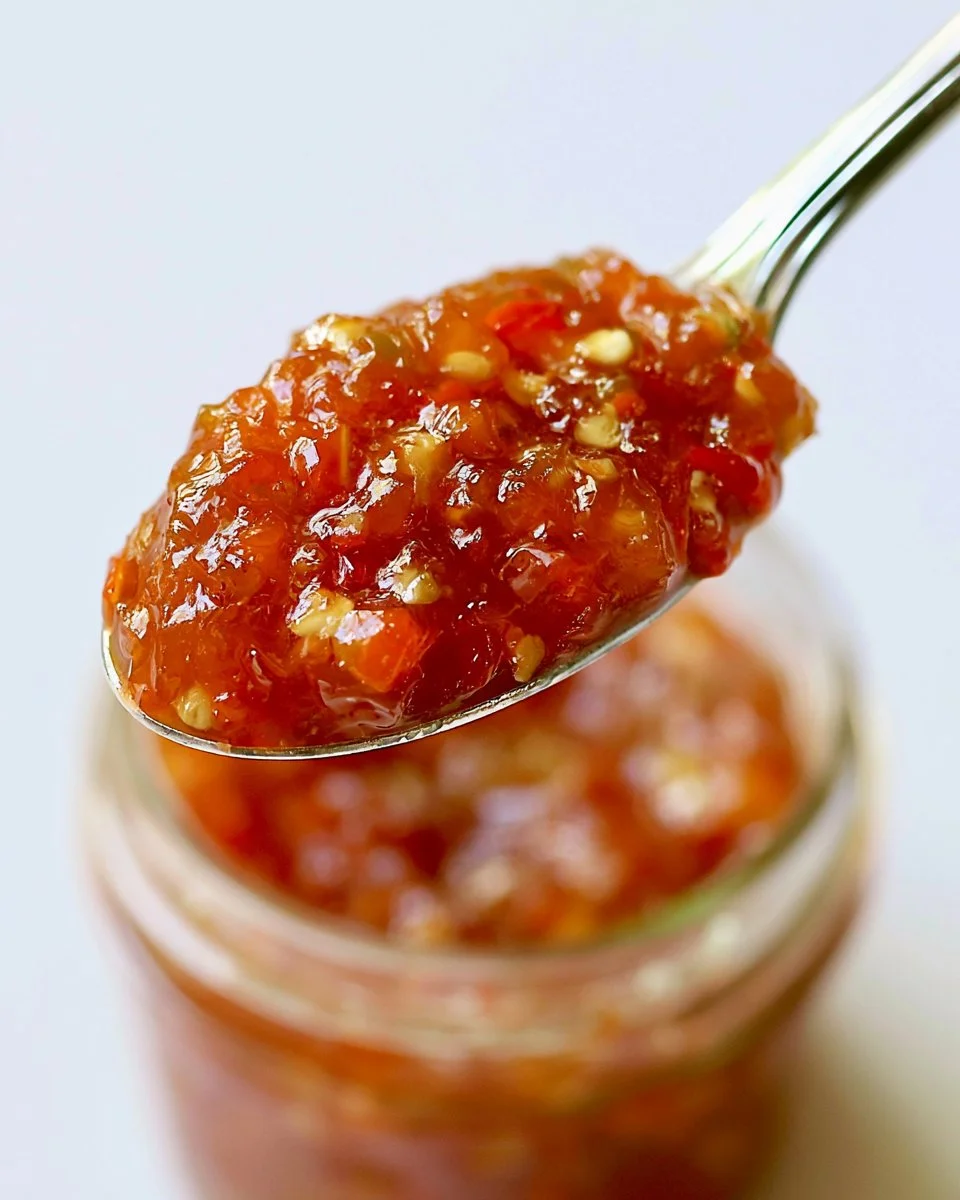
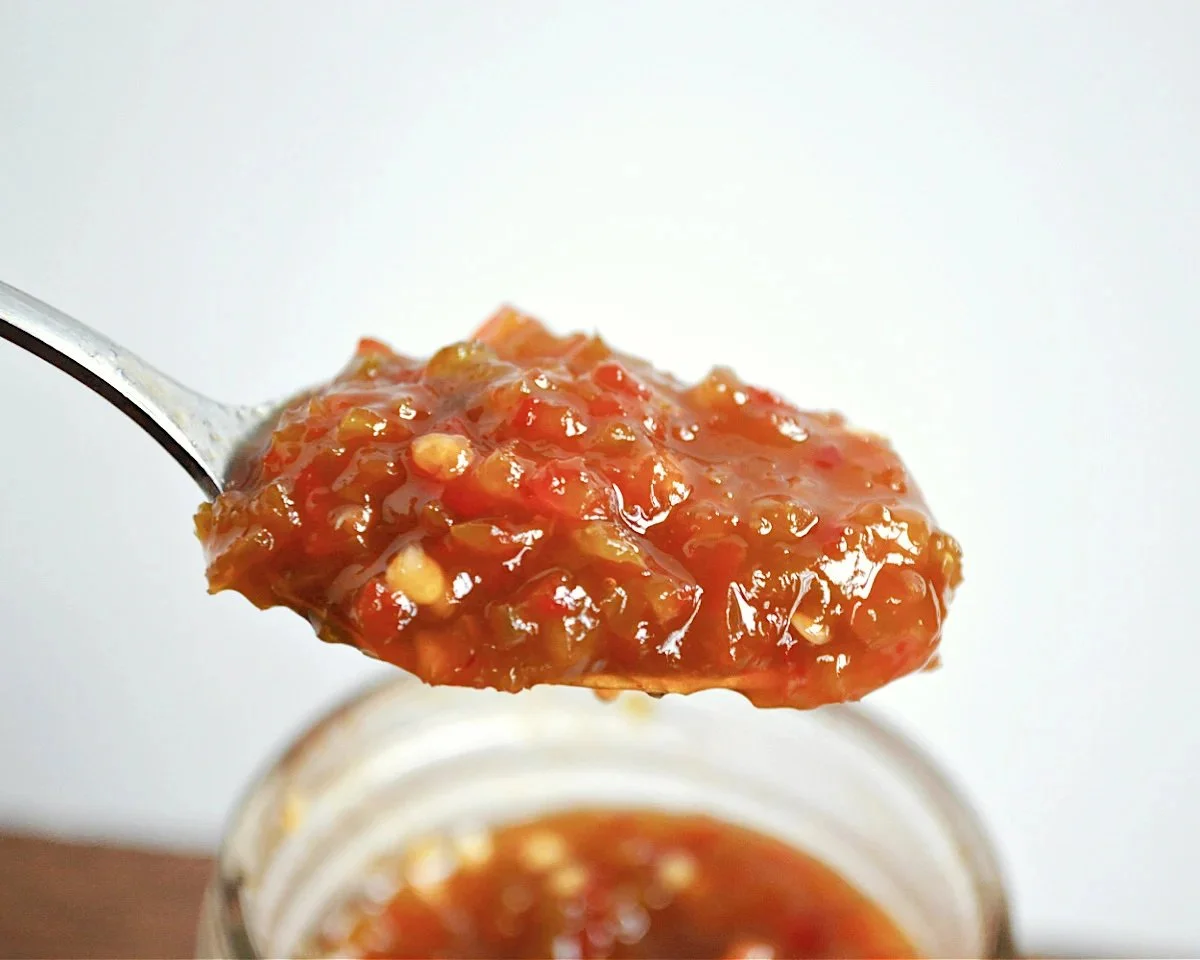
Looking for a unique way to preserve the spicy kick of jalapeño peppers? This Jalapeño Pepper Jelly Recipe for Canning or Freezing (Honey Sweetened) is your answer! Perfect for spice lovers, this sweet and spicy jelly is not only delicious but also a fantastic homemade gift idea. With just a few simple ingredients that pack a punch, you’ll have a delightful jelly ready to enjoy in no time. This recipe combines the heat of finely chopped jalapeño peppers with the gentle sweetness of honey, creating a versatile condiment that pairs well with everything from cheese platters to roasted meats.
Canning or freezing your jelly allows you to enjoy the taste of summer all year long, and this honey-sweetened version is a healthier alternative to traditional recipes that rely on refined sugars. Whether you’re an experienced canner or embarking on your first cooking venture, this recipe is straightforward and forgiving. Step into the kitchen and discover how easy it is to create your very own homemade jalapeño jelly!
Quick Answer
This Jalapeño Pepper Jelly Recipe is perfect for canning or freezing, featuring honey as a sweetener. It’s an excellent way to utilize jalapeños while delivering unforgettable flavor in a variety of dishes.
Why You’ll Love This Recipe
This jalapeño pepper jelly is a culinary adventure! The balance of heat from the peppers and sweetness from the honey creates a flavor profile that surprises and delights. It’s not just jelly — it’s a versatile ingredient that can elevate numerous dishes. Imagine spreading it on crackers with cream cheese, using it as a glaze for grilled meats, or mixing it into a barbecue sauce for a spicy kick. Easy to make and store, this jelly is a fantastic way to capture the essence of fresh peppers, making it a perfect recipe for those who love to preserve their summer harvest. Plus, it’s a brilliant gift for friends and family who enjoy gourmet ingredients!
What Makes This Recipe Special
What sets this jalapeño pepper jelly apart is the use of honey instead of traditional sugar. This not only enhances the flavor but also aligns with health-conscious choices, offering a natural sweetness. The unique combination of jalapeño peppers with Anaheim or poblano peppers adds depth, creating a jelly that’s not only visually appealing but also pleasantly surprising. The use of Ball Low or No Sugar Flex Batch Pectin allows for a consistent texture, ensuring your jelly sets perfectly every time. The fact that it can be both canned and frozen gives you the flexibility to enjoy it however you prefer, maximizing its shelf life and accessibility.
Kitchen Tools You’ll Need
- Large stockpot: For combining ingredients and cooking the jelly.
- Canning jars: Half-pint jars are ideal for storing your jelly.
- Canner: A boiling water canner is essential for the canning process.
- Ladle: For filling jars with hot jelly safely.
- Spoon: For stirring the mixture and skimming foam.
Ingredients
- Jalapeño peppers: Provides heat and flavor.
- Anaheim and/or poblano peppers: Adds a mild pepper flavor and balances heat.
- Cider vinegar: Contributes acidity for preserving and enhancing flavor.
- Ball Low or No Sugar Flex Batch Pectin: Ensures the jelly sets properly.
- Honey: Natural sweetener that enriches the flavor.
How to Make Jalapeño Pepper Jelly Recipe for Canning or Freezing (Honey Sweetened)
STEP 1. Prepare jars. Wash 7 to 8 half-pint (8-ounce) jars and keep warm until needed. Wash lids and rings in soapy water and set aside. Prepare boiling water canner.
STEP 2. Combine ingredients. Combine peppers and vinegar in a large stockpot, then gradually stir in the pectin.
STEP 3. Bring to a boil. Stirring constantly, bring mixture to a full rolling boil over high heat that can’t be stirred down.
STEP 4. Add honey. Add honey, bring back to a full boil and boil hard for 3 minutes, stirring constantly. Remove from heat and skim foam if needed.
STEP 5. Fill jars. Ladle hot jelly into prepared, hot jars, one at a time leaving 1/4-inch headspace. Wipe rim, center lid on jar and attach ring, screwing just until fingertip-tight.
STEP 6. Process jars. Add to rack in canner. Lower canning rack and process jars in canner for 10 minutes (timing after water comes to a boil with the jars submerged).
STEP 7. Cool pots. Remove lid, turn off burner, and let jars sit in canner for 5 minutes.
STEP 8. Store jars. Remove jars to a towel-lined surface to cool, undisturbed, for 24 hours. Remove rings, check seals and label with date before storing.
Why This Recipe Works
This recipe works beautifully due to the unique interplay of flavors and the proper techniques used in canning. The acidity from the cider vinegar helps to preserve the jelly, while the pectin ensures the perfect gel texture. Using honey instead of sugar not only gives the jelly a lovely flavor but also enhances the preservation process. The balance of spicy and sweet is key; the jelly is deliciously flavorful without overwhelming heat. Following the steps methodically ensures that each jar of jelly is consistently delicious, aromatic, and visually striking.
Pro Tips for Best Results
To ensure the best outcomes, consider these pro tips: First, use gloves while handling jalapeño peppers to avoid skin irritation. Second, chop the peppers finely for a more even distribution of flavor throughout the jelly. Third, constantly stir the mixture as it cooks to prevent sticking and burning on the bottom of the pot. Fourth, be mindful of headspace when filling jars; too little can impact the seal, while too much may spoil the appearance. Finally, always test seals after cooling to ensure your jelly is properly preserved for long-term storage.
Common Mistakes to Avoid
Avoid these pitfalls: Don’t skip the skimming step after removing the jelly from heat; this ensures your jelly looks clear and polished. Measuring ingredients inaccurately can also lead to inconsistent results. Failing to warm the jars and lids before filling can shock the glass and potentially lead to breakage. Moreover, processing jars the wrong duration can affect preservation. Lastly, neglecting to store jars in a cool, dark place can reduce freshness and flavor, so be vigilant about your storage conditions.
Recipe Variations
Consider these fun variations to customize your jalapeño pepper jelly: Add a splash of lime juice for a zesty kick or include fresh herbs like cilantro for a refreshing twist. You might also experiment with different types of peppers; adding milder peppers or even a touch of smoked peppers can alter the flavor profile beautifully. If you enjoy sweeter jelly, try incorporating fruits such as peaches or pineapple for a fruity sweetness that balances the peppers. Each variation brings a unique twist to the jelly, allowing you to create a personalized batch that reflects your taste.
Nutrition Highlights
NutrientPer ServingCalories50Carbohydrates12gSugars11gSodium0mgProtein0g How to Serve Jalapeño Pepper Jelly Recipe for Canning or Freezing (Honey Sweetened)
Your jalapeño pepper jelly is incredibly versatile. Serve it as a dip with cream cheese and crackers for a delightful appetizer or use it as a glaze for grilled meats, adding a sweet and spicy layer of flavor. It also pairs wonderfully with soft cheeses, making it a standout addition to cheese boards. For an easy dessert, spoon it over vanilla ice cream or yogurt. The options are endless when it comes to incorporating this jelly into your meals!
Best Occasions for This Recipe
This jalapeño pepper jelly shines during holidays and festive gatherings, making it an ideal gift or appetizer at various occasions. It’s perfect for summer barbecues or parties, enticing guests with its unique flavor combination. Moreover, it’s a great companion for fall gatherings, offering a warm, spicy touch to seasonal spreads. Use it to celebrate personal milestones like housewarmings or weddings, showcasing your homemade culinary skills. This jelly can elevate any occasion, adding a special touch to your dining experiences.
Make Ahead & Storage
Making ahead is simple with this recipe. Once processed and stored properly, your jalapeño pepper jelly can be kept for up to a year in a cool, dark place. When making it in bulk, consider batch processing to save time while preserving bountiful pepper harvests.
Meal Prep
Prepare jars and ingredients beforehand to ensure a smooth cooking process. Pre-chopping peppers and measuring ingredients can save time when you’re ready to cook.
Refrigeration
If you choose not to can, store the jelly in the refrigerator where it can last for up to several months.
Freezing
For long-term use, transfer the jelly to freezer-safe containers and store. It can keep for up to a year, maintaining its flavor and quality.
Reheating
When you want to use your frozen jelly, thaw it overnight in the refrigerator and serve as desired. If needed, you can gently reheat it on the stovetop until warm.
FAQs
Can I use other sweeteners? Yes, you can substitute with agave syrup or another sweetener of your choice, keeping in mind it may alter the flavor slightly.
Is this jelly very spicy? The heat level depends on the jalapeños and other peppers used. Adjust according to your preference by using fewer peppers or mixing in milder varieties.
What can I do with leftover jelly? Leftover jelly can be used in various recipes, such as marinades, glazes, or even as a topping for pancakes and waffles!
How can I tell if the jelly has set? A properly set jelly will be firm yet slightly springy to the touch. You can also perform a plate test by placing a spoonful on a cold plate; if it holds its shape and doesn’t run, it’s ready.
Can I add fruit to this recipe? Sure! Adding fruits like berries or peaches can create a delightful mixed pepper jelly. Experiment for your desired flavor.
Save This Recipe for Later
If you love this recipe, be sure to bookmark it for later so you can revisit it whenever you want to enjoy the sweet and spicy goodness of your homemade jalapeño pepper jelly!
Final Thoughts
This Jalapeño Pepper Jelly Recipe for Canning or Freezing (Honey Sweetened) is your gateway to exploring the delightful world of homemade preserves. Elevate your cooking with this versatile jelly that offers both flavor and creativity. Whether you’re a canning novice or a seasoned pro, this recipe invites you into the kitchen to create something that’s not only delicious but also worthy of sharing.
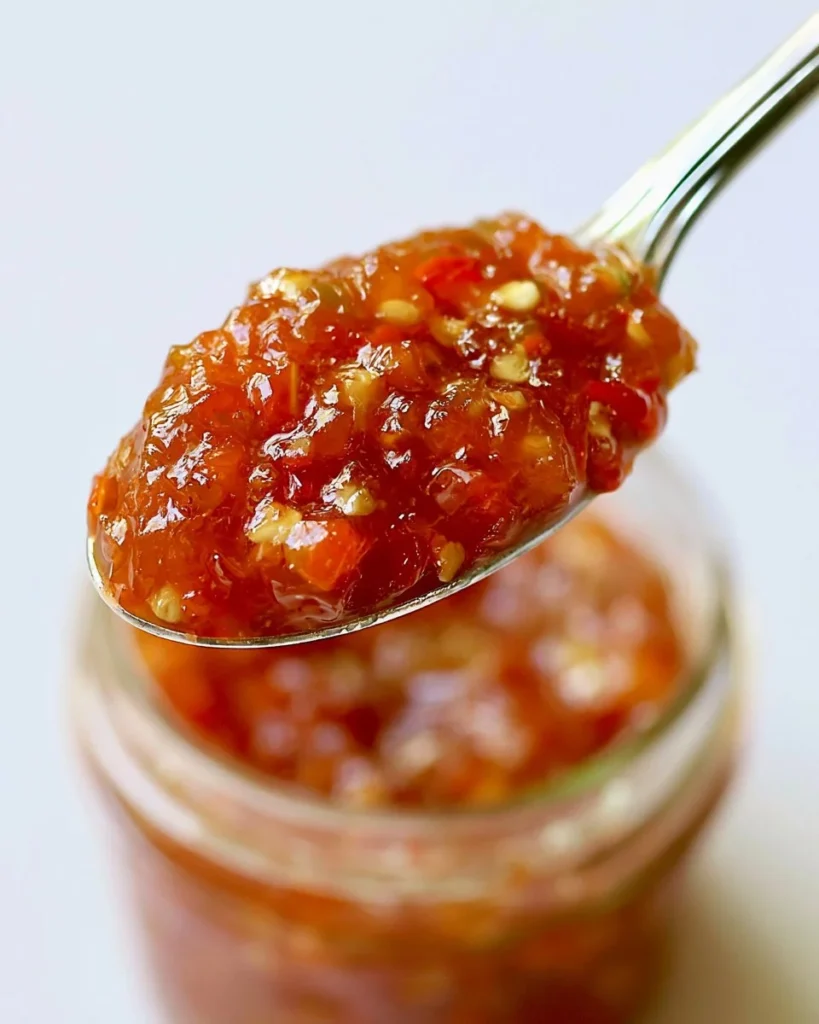
Jalapeño Pepper Jelly
Ingredients
Method
- Wash 7 to 8 half-pint (8-ounce) jars and keep warm until needed.
- Wash lids and rings in soapy water and set aside. Prepare boiling water canner.
- Combine peppers and vinegar in a large stockpot, then gradually stir in the pectin.
- Stirring constantly, bring the mixture to a full rolling boil over high heat that can't be stirred down.
- Add honey, bring back to a full boil and boil hard for 3 minutes, stirring constantly.
- Remove from heat and skim foam if needed.
- Ladle hot jelly into prepared, hot jars, one at a time, leaving 1/4-inch headspace.
- Wipe rim, center lid on jar, and attach ring, screwing just until fingertip-tight.
- Add jars to the rack in canner. Lower canning rack and process jars in canner for 10 minutes (timing after water comes to a boil with the jars submerged).
- Remove lid, turn off burner, and let jars sit in canner for 5 minutes.
- Remove jars to a towel-lined surface to cool, undisturbed, for 24 hours.
- Remove rings, check seals and label with the date before storing.