Homemade Butter in a Jar
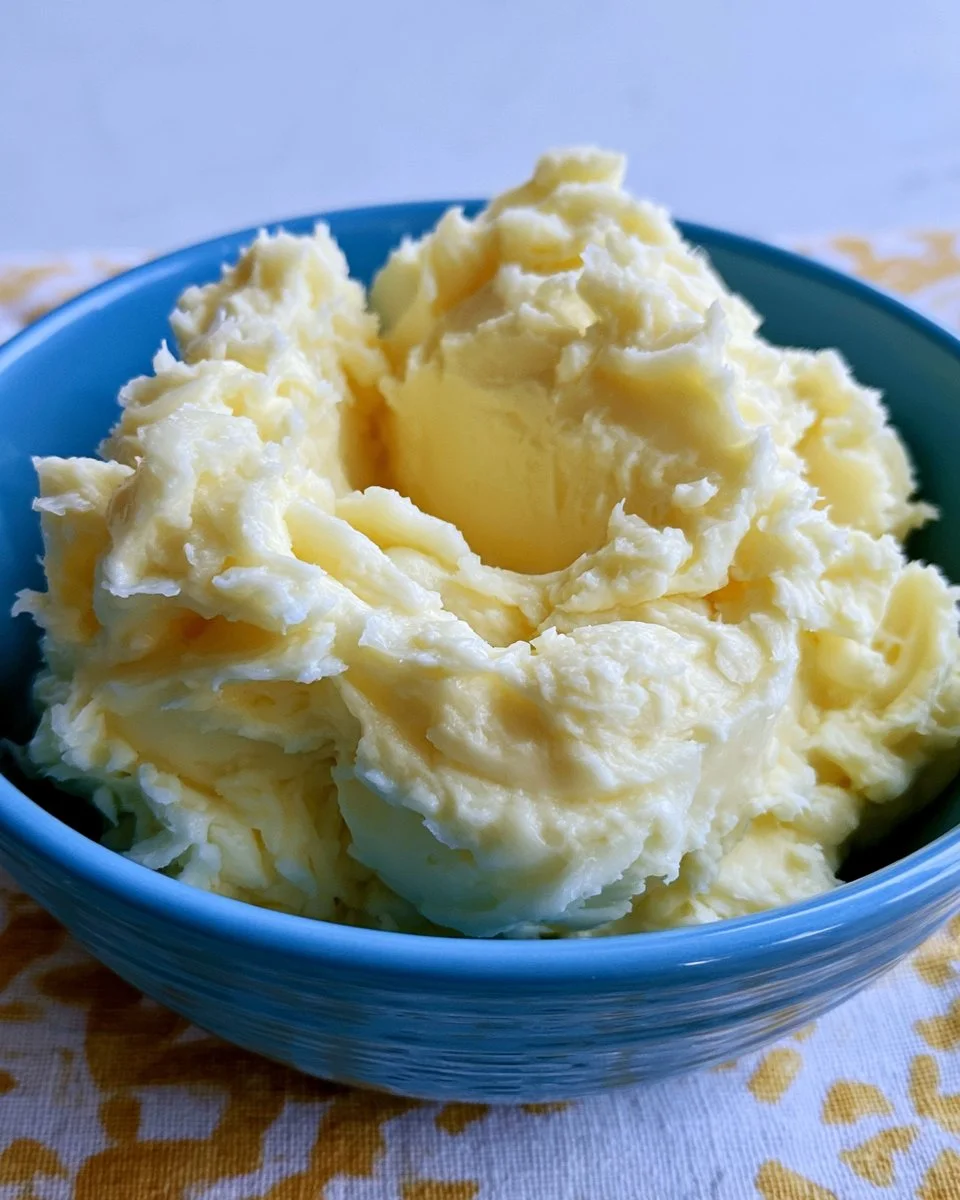
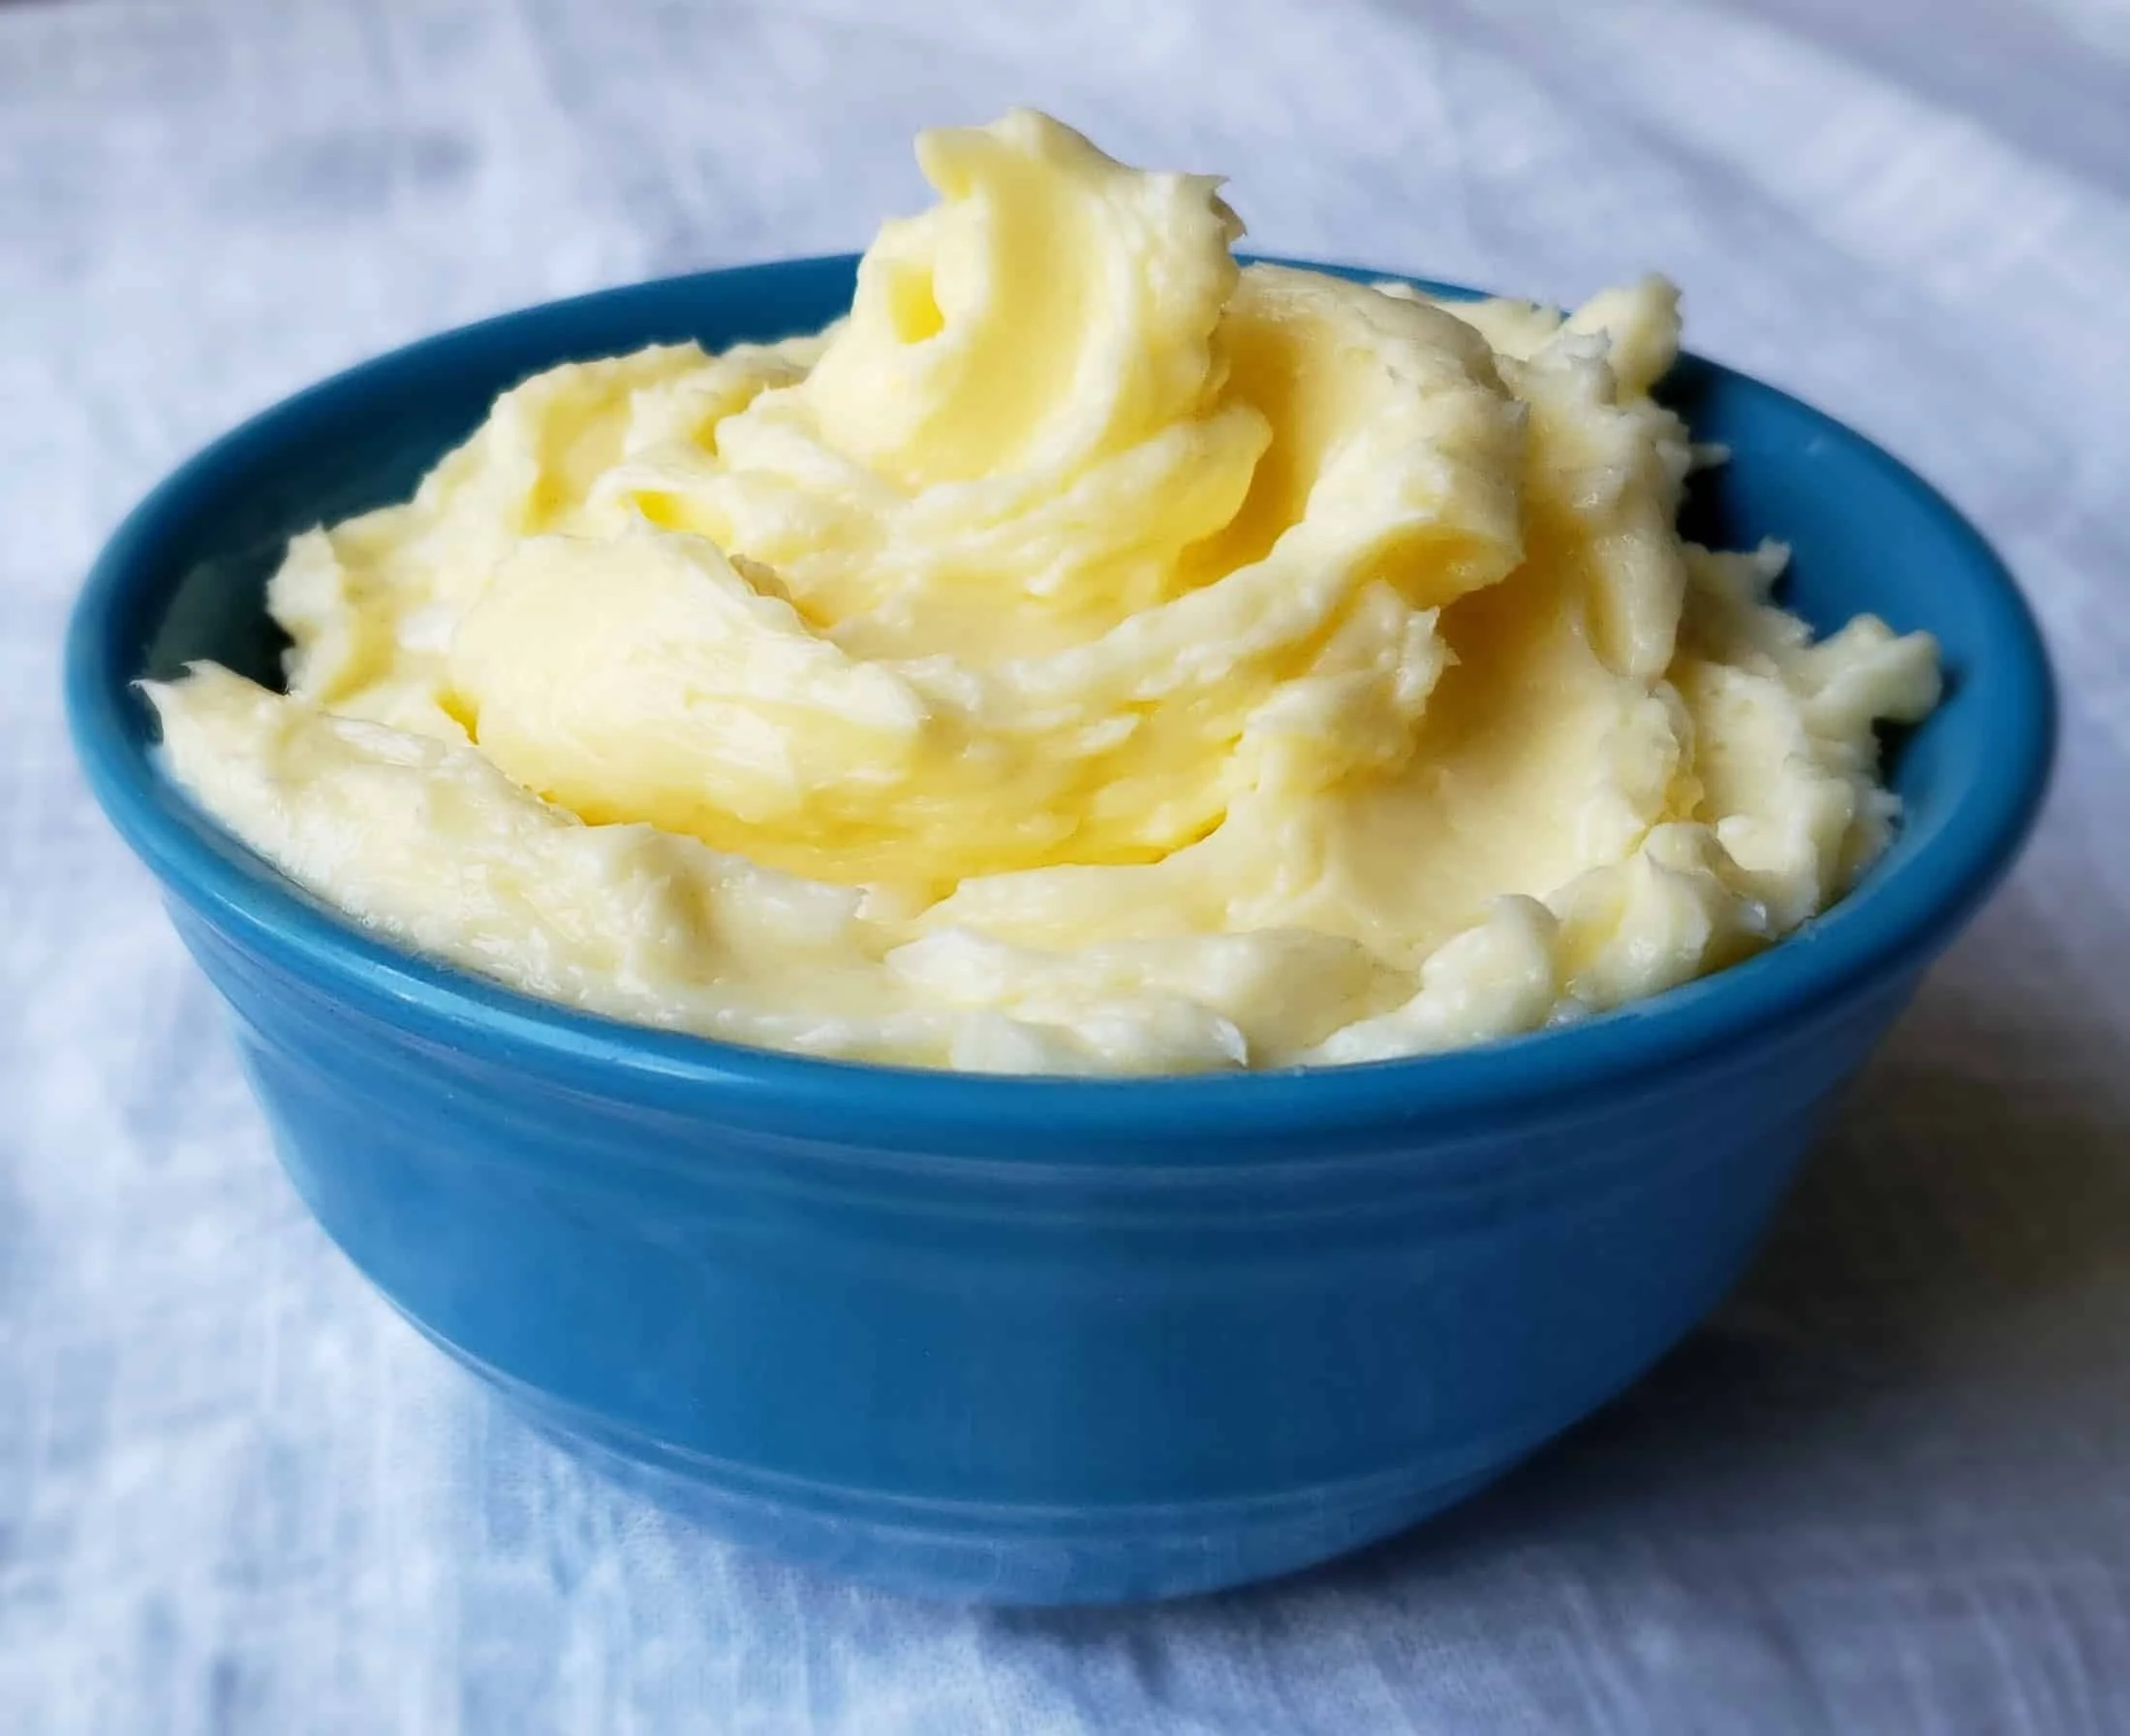
Making Homemade Butter in a Jar is not only a fun kitchen experiment but also a rewarding way to enjoy fresh, creamy butter right at home. In just about 15 minutes, you can transform simple heavy whipping cream into luscious butter. This easy method requires minimal tools and ingredients, making it perfect for anyone from novice cooks to seasoned chefs. You can easily customize your butter by adding flavors or salt according to your taste.
Butter is a beloved staple in many kitchens, and when it’s homemade, it takes on a whole new level of freshness and flavor. It can elevate a wide variety of dishes, whether spread on bread, used in baking, or dolloped over vegetables. Plus, there’s something incredibly satisfying about shaking a jar and watching it turn into something so delicious. This method not only gives you a tasty outcome but also a fun activity to share with family and friends.
Quick Answer
If you’re wondering whether you can make butter at home, the answer is a resounding yes! With just heavy whipping cream and a bit of time, you can create your own butter in a jar!
Why You’ll Love This Recipe
Creating Homemade Butter in a Jar is a delightful activity that brings joy to both children and adults alike. The best part? You don’t need a fancy kitchen gadget to make it! All you need is some heavy whipping cream and a jar. This method is incredibly simple and only requires a bit of time and energy, making it accessible for anyone.
Once you make your own butter, you’ll likely never want to go back to store-bought. The fresh, creamy flavor of homemade butter far surpasses anything you can buy in a grocery store. Plus, you can control the saltiness or even infuse flavors like herbs or garlic into your butter for a gourmet touch. It’s a wonderful way to impress guests at dinners or family gatherings, showing off not only your culinary skills but also your love of homemade food. Enjoying your own butter adds a special touch to meals, making this recipe a must-try!
What Makes This Recipe Special
This recipe is special because it uses only two main ingredients: heavy whipping cream and an optional pinch of salt. It’s a straightforward process that doesn’t require any complex techniques or equipment—just a jar and a bit of elbow grease. It’s also a fantastic demonstration of how simple ingredients can transform through a bit of effort.
Furthermore, making butter at home allows you to experiment with different flavors and textures, which store-bought options cannot match. You’re not only making butter; you’re crafting a product tailored to your taste preferences, whether you want it sweet, salty, or flavored with your favorite herbs. Additionally, seeing the transformation from cream to butter is both rewarding and impressive, making this a great kitchen project for families to do together.
Kitchen Tools You’ll Need
To make Homemade Butter in a Jar, you’ll require just a few kitchen tools:
- Jar or Container: A pint jar or a 2-cup container with a tight-fitting lid for shaking the cream.
- Bowl: To place the butter into after it’s formed.
- Ice Water: For rinsing the butter to remove excess milk for a cleaner final product.
- Paper Towel: To help pat the butter dry.
- Plastic Wrap: For shaping the butter log for storage.
Ingredients
- heavy whipping cream: This is the base ingredient that will turn into butter.
- salt: Optional for seasoning your butter to taste.
How to Make Homemade Butter in a Jar
STEP 1. Pour cream into the jar. Pour 1 cup heavy whipping cream into a pint jar or a 2-cup container with a lid.
STEP 2. Shake the jar. Shake the jar back and forth or up and down for approximately 15 minutes.
STEP 3. Check for whipped cream. At 10 minutes you will have whipped cream. At this point, you won’t feel any “sloshing” back and forth in the jar. At first, it will look like a curdled mess—that’s progress!
STEP 4. Continue shaking. At 15 to 16 minutes you should see a ball of butter in the middle of the jar.
STEP 5. Wash the butter. Remove the butter and place it in a bowl of ice water. Squeeze the butter in the ice water to remove the milk. Drain the water and repeat to make sure all the milk is removed.
STEP 6. Add salt. For salted butter, knead in the salt at this point.
STEP 7. Shape the butter. Pat the butter dry with a paper towel and place on a sheet of plastic wrap. Using the plastic wrap, shape it into a log, then roll it up into the plastic wrap for storage.
STEP 8. Store the butter. I like to place the log into a zip-top bag to make sure it is air-tight.
Why This Recipe Works
This recipe for Homemade Butter in a Jar works because it relies on the fundamental principles of dairy science. The agitation of heavy whipping cream causes the fat molecules to coalesce, separating from the liquid component of the cream (buttermilk). This simple mechanical action is all you need to create delicious butter at home. Additionally, the method is forgiving and easy; even if the butter isn’t perfect the first time, the process remains enjoyable.
The use of a jar makes it simple to see the progress as the cream transitions from liquid to solid, creating a visual experience that is satisfying. On top of that, you can also tweak the flavor as you become more comfortable with the process, allowing you to customize it to your liking.
Pro Tips for Best Results
1. Use high-quality heavy whipping cream that’s at least 35% fat for the best texture and flavor.
2. Don’t worry if your cream seems to take longer to turn; sometimes, varying temperatures of cream can impact the time needed.
3. Ensure your jar is clean and dry before pouring in the cream to prevent any contamination.
4. If you want to make different flavored butters, consider adding herbs, honey, or spices after the initial butter formation.
5. Be patient during the shaking process; it’s the most important part of making butter, so keep shaking until the butter forms!
Common Mistakes to Avoid
One common mistake people make is using lower-fat cream. Always choose heavy whipping cream with at least 35% fat; otherwise, your butter won’t form properly. Another mistake is not shaking the jar vigorously enough or for long enough. Agitation is key!
Additionally, make sure to rinse the butter thoroughly to remove excess milk; leaving this step out can lead to spoilage. Lastly, when shaping the butter, don’t skip the drying step as excess moisture can affect the butter’s creaminess and texture.
Recipe Variations
There are countless variations of Homemade Butter in a Jar. Consider trying:
- Herb Butter: Add fresh or dried herbs such as rosemary, thyme, or chives for a savory flavor.
- Honey Butter: Mix in some honey for a sweet spread perfect for muffins or toast.
- Garlic Butter: Incorporate roasted garlic for a flavorful addition to your culinary creations.
- Cinnamon Butter: Combine cinnamon and a bit of sugar for a delightful topping on pancakes or waffles.
Nutrition Highlights
| Nutrient | Amount per serving |
|---|---|
| Calories | 100 |
| Total Fat | 11g |
| Saturated Fat | 7g |
| Cholesterol | 30mg |
| Sodium | 0-120mg (depending on salt addition) |
| Carbohydrates | 0g |
How to Serve Homemade Butter in a Jar
Once you’ve made your Homemade Butter in a Jar, the possibilities for serving it are endless. Enjoy it on freshly baked bread, warm biscuits, or pancakes. You can also use it for cooking or baking, enhancing the richness of your dishes. It can be a standout addition to mashed potatoes or spread on veggies before roasting. The creamy texture and fresh flavor of homemade butter elevate any dish!
Best Occasions for This Recipe
This recipe is perfect for a variety of occasions. It’s ideal for family gatherings where you want to impress your guests with homemade touches or for special breakfast events such as Mother’s Day brunch. Additionally, homemade butter makes fantastic gifts for holidays or housewarming parties. Guests will love receiving such a delightful and personal gift that they can include in their daily meals.
Make Ahead & Storage
You can prepare homemade butter in advance and store it for later use, which makes it a great option for meal prep. Just make sure to keep it properly sealed to maintain freshness.
Meal Prep
Making your butter in advance allows you to save time during busy weeknights and can enhance the flavor of your meals.
Refrigeration
Store your homemade butter in a zip-top bag or wrapped in plastic wrap in the refrigerator for up to two weeks.
Freezing
For longer storage, you can freeze the butter. Simply wrap it tightly in plastic wrap and then place it in a freezer-safe bag. It should keep well for up to six months.
Reheating
To use your frozen butter, simply transfer it to the refrigerator to thaw overnight or leave it at room temperature for a few hours before using. Avoid reheating butter in a microwave, as this can lead to separation or melting.
FAQs
Can I use low-fat cream to make butter? No, you need heavy whipping cream with at least 35% fat for the best results.
How long does it take to make butter in a jar? The entire process takes around 15 to 20 minutes, depending on how vigorously you shake the jar.
What if my cream doesn’t turn into butter? Make sure you’re using high-fat cream and shake vigorously for the full time required.
Can I add flavors to my homemade butter? Absolutely! You can mix in herbs, spices, or sweeteners after forming the butter.
How should I store my homemade butter? Homemade butter should be stored in the refrigerator for up to two weeks or frozen for up to six months.
Save This Recipe for Later
Enjoy making Homemade Butter in a Jar? Don’t forget to save this recipe for easy access later. Share it with friends and family so they can delight in this delightful homemade treat too!
Final Thoughts
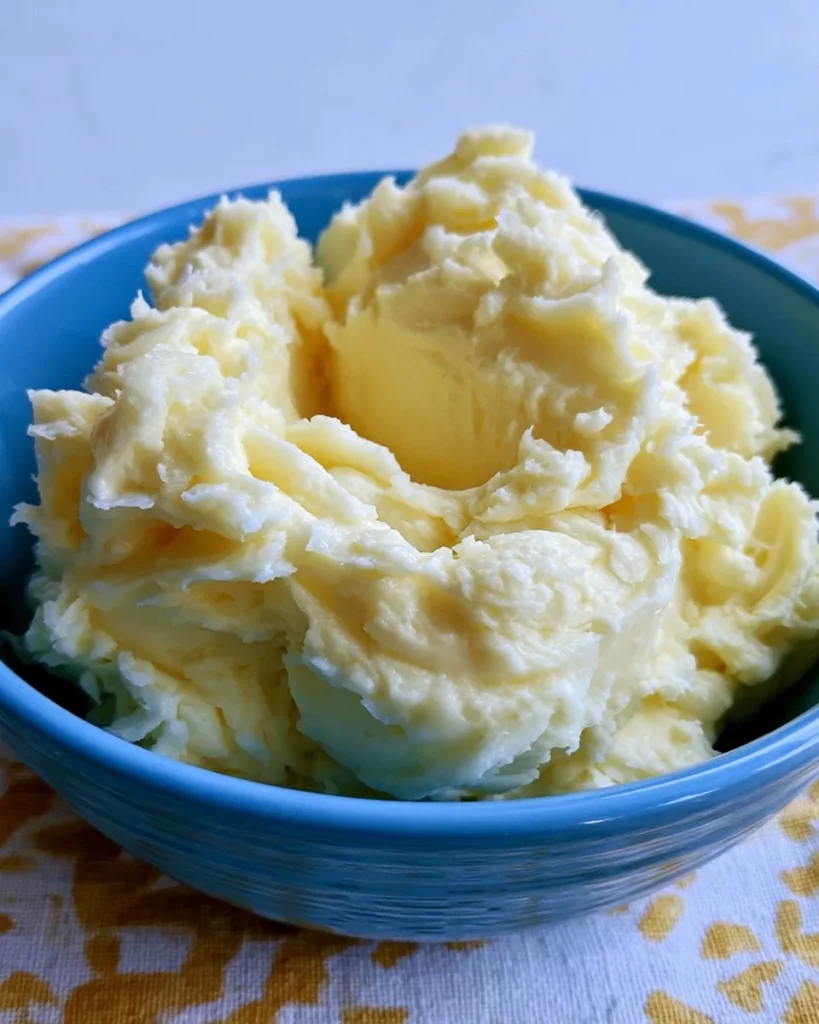
Creating Homemade Butter in a Jar is a rewarding and simple culinary adventure. With just a few ingredients and a bit of time, you can produce rich, flavorful butter that enhances meals and brings a taste of homemade goodness to your kitchen. Give it a try, and you might find yourself making this delightful treat regularly!
Homemade Butter in a Jar
Ingredients
Method
- Pour 1 cup of heavy whipping cream into a pint jar or a 2-cup container with a lid.
- Shake the jar back and forth or up and down for approximately 15 minutes.
- At 10 minutes, you will have whipped cream; it may look curdled but keep shaking.
- Continue shaking until you see a ball of butter form in the middle of the jar at around 15-16 minutes.
- Remove the butter and place it in a bowl of ice water. Squeeze the butter to remove excess milk.
- Drain the water and repeat the rinsing process until all milk is removed.
- If making salted butter, knead in the salt at this point.
- Pat the butter dry with a paper towel and shape it using plastic wrap.
- Store the shaped butter in a zip-top bag to ensure it is airtight.