Olive Bread – No Knead Recipe
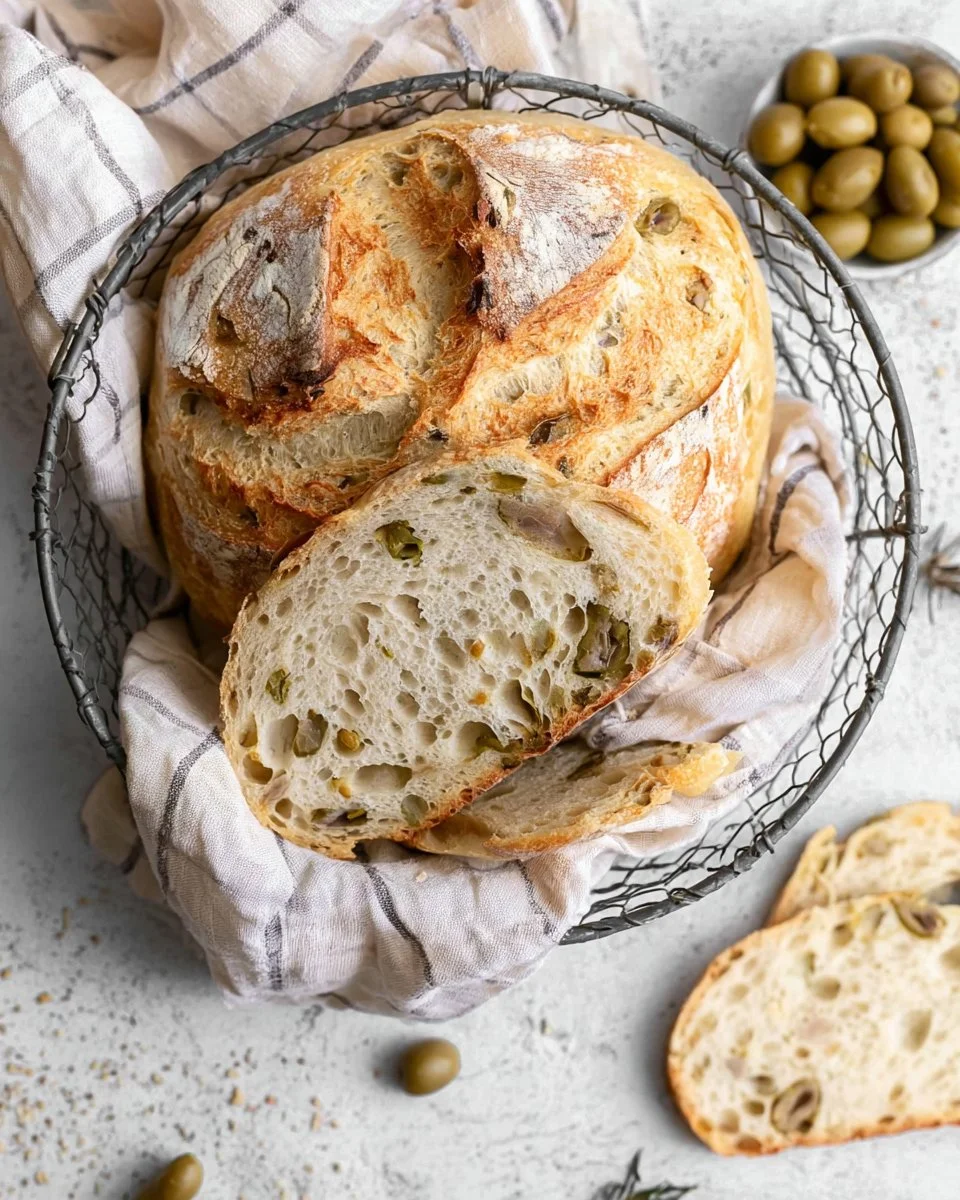
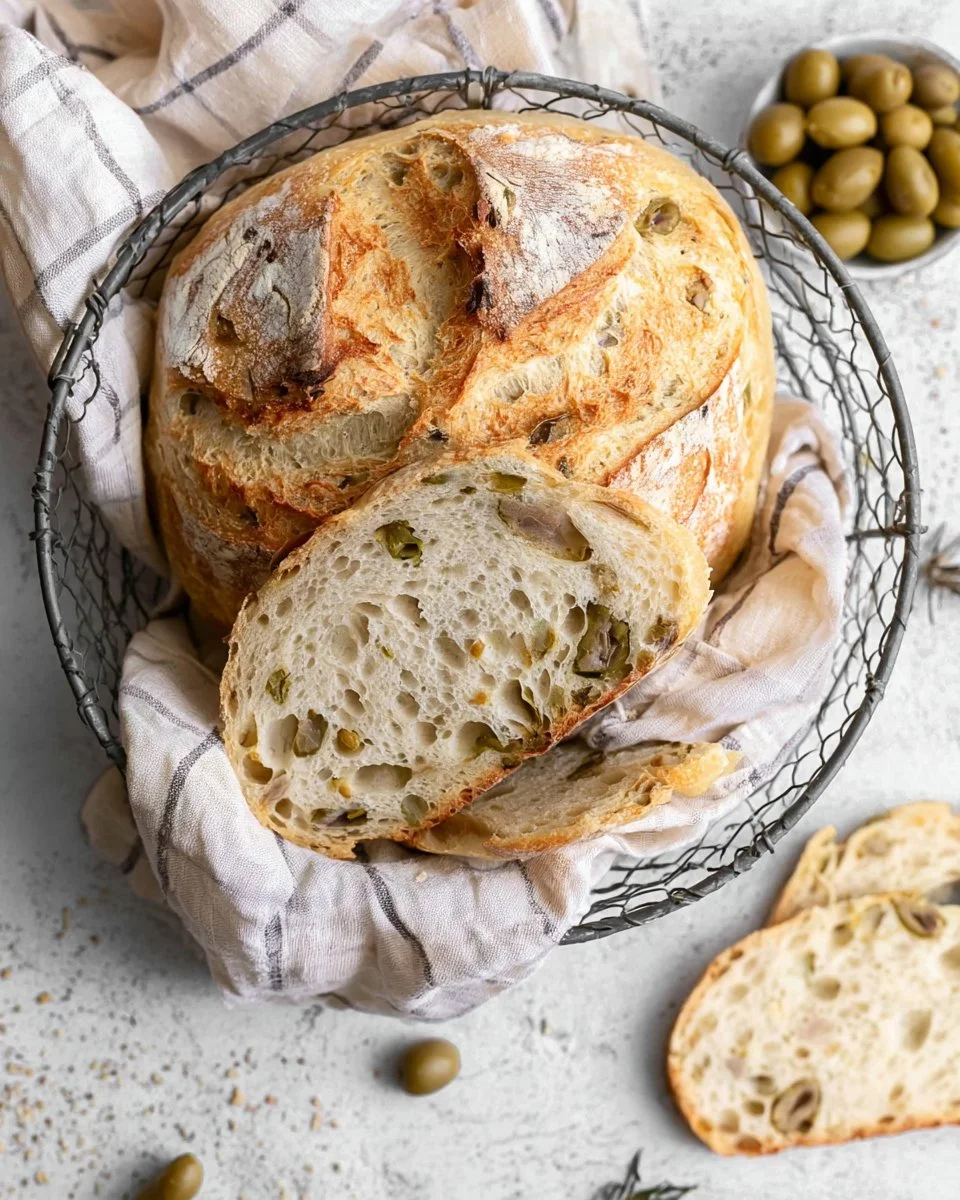
If you’ve been dreaming of homemade bread without the fuss of kneading, this olive bread recipe is your ticket to bakery-level goodness right in your own kitchen. Perfect for gatherings and family meals, this no-knead recipe is surprisingly easy and rewarding. The pimento olives add a briny depth, making this bread an exquisite companion for soups, salads, or as a standalone snack. With just a bit of patience for the rising time, you can create a scrumptious loaf with a crusty exterior and a soft, flavorful interior. Get your apron on and prepare to indulge in the delightful aroma of freshly baked olive bread!
Quick Answer
This no-knead olive bread is a dream come true for home bakers. It’s easy to make, requires minimal hands-on time, and delivers a deliciously rustic loaf loaded with flavor. Enjoy it fresh or with your favorite dips!
Why You’ll Love This Recipe
This olive bread is not only simple to make, but it also comes with a variety of benefits for your kitchen adventures:
- No kneading required: Enjoy the ease of a no-knead recipe when time is limited.
- Flavorful olives: Pimento olives add a unique, savory taste to every slice.
- Perfect crust: Baking in a Dutch oven gives you a crusty exterior and soft interior.
- Healthy meal component: This bread can fit into your healthy meal prep plans.
- Great for gatherings: A delicious addition to family meals and parties.
- Versatile uses: Serve as a snack, side, or as part of a cheese platter.
- Easy to make ahead: Ideal for meal planning and can be stored easily.
What Makes This Recipe Special
This recipe for olive bread sets itself apart due to its artisanal quality achieved without complex techniques. The combination of very warm water and instant yeast allows for a reliable rise without the need for extensive handling. By incorporating olives and employing a Dutch oven, the bread retains moisture while developing an ideal crust. Plus, the gently sweet touch from maple syrup rounds out the flavors perfectly. You’re not just baking bread; you’re crafting an experience that adds warmth and enjoyment to any meal.
Kitchen Tools You’ll Need
- Large mixing bowl
- Dough scraper or large spatula
- Dutch oven
- Parchement paper
- Wire cooling rack
- Oven mitts
Ingredients
all purpose flour: The main structure of the bread, giving it body and texture.
instant yeast: Helps the bread rise quickly without the need for kneading.
sea salt: Enhances the flavor and is crucial for proper fermentation.
very warm water: Activates the yeast and hydrates the flour for a cohesive dough.
maple syrup, agave or granulated sugar: Adds a hint of sweetness and helps with browning.
olive oil or any oil: Adds moisture to the dough and enriches the flavor.
pimento olives: Provide a flavorful and savory addition to the bread.
Ready to cook? Scroll to the recipe card below for exact measurements.
How to Make Olive Bread – No Knead Recipe
STEP 1. Mix Dry Ingredients. In a very large bowl, whisk the dry ingredients together until thoroughly combined.
STEP 2. Add Wet Ingredients. Create a well in the centre and add the warm water, maple syrup, and the oil.
STEP 3. Form Dough. Stir the water into the dry ingredients to form a dough, then add the olives and stir again until mixed.
STEP 4. Initial Rise. Lightly grease the sides of the bowl and turn the dough over to grease it, then cover and let it rise on your counter for 2 to 3 hours.
STEP 5. Preheat Dutch Oven. In the last 30 to 40 minutes of rising, place your Dutch oven in the oven and preheat at 450°F.
STEP 6. Prepare Surface and Dough. After rising, flour a surface and pour the risen dough onto it, sprinkling some flour on top.
STEP 7. Shape Dough. Fold the dough on top of itself to tighten its shape, scoop it onto parchment paper, and shape it into a circle.
STEP 8. Bake Bread. Carefully place the dough into the preheated Dutch oven, cover, and bake for 45 minutes.
STEP 9. Finish Baking. Remove the lid and continue baking for an additional 15 to 20 minutes until the crust reaches your desired level.
STEP 10. Cool and Enjoy. Transfer the bread to a wire rack to cool completely, slice, and serve.
Why This Recipe Works
This olive bread recipe is designed for success with minimal effort. The use of high-quality flour and the right hydration level creates an ideal dough consistency, while the instant yeast allows for quick rising without the labor of kneading. The key to a tasty loaf is letting the dough rest and rise properly; this not only develops flavor but also enhances texture. Baking in a Dutch oven retains moisture and creates that signature crispy crust, just like artisanal loaves from a bakery. With these essential methods, anyone can create a bakery-worthy bread right at home!
Pro Tips for Best Results
For the best olive bread experience, consider the following expert tips:
- Ensure your water is warm but not hot, as overheating can kill the yeast.
- Use a tall bowl to accommodate the dough as it rises.
- If your kitchen is cool, place the dough in a warm space to encourage rising.
- Flour your surfaces generously to prevent sticking during shaping.
- Don’t skimp on the cooling time; a fully cooled loaf will slice better.
Common Mistakes to Avoid
Even with a straightforward recipe, it’s easy to make mistakes along the way. Here are some common pitfalls to watch out for:
- Using cold water may slow the yeast activation, leading to poor rising.
- A grumpy yeast can result from expired yeast, so always check the date.
- Not allowing the dough enough time to rise will yield a dense loaf.
- Skipping the parchment paper can make transferring the bread a struggle.
- Be careful not to overbake, as this will dry the bread out and dull the crust.
Recipe Variations
- Add garlic or herbs for extra flavor.
- Swap pimento olives for Kalamata or green olives.
- Incorporate cheese like feta or mozzarella into the dough.
- Try adding sun-dried tomatoes for a different twist.
- Use whole wheat flour for added nutrition and flavor.
Nutrition Highlights
| Nutrient | Per Serving |
|---|---|
| Protein | Approximately 8g |
| Fiber | Approximately 2g |
| Carbohydrates | Approximately 45g |
| Fats | Approximately 4g |
How to Serve Olive Bread – No Knead Recipe
This olive bread is incredibly versatile. Serve it alongside a warm bowl of soup or salad for a delightful lunch. It also pairs beautifully with antipasto platters or cheese boards, enhancing the overall meal experience. For a more indulgent option, toast slices and spread with butter or olive oil. This bread adds a wonderfully rustic touch, making it a favorite for any gathering or special occasion.
Best Occasions for This Recipe
Olive bread is ideal for a variety of occasions; perfect for gatherings, family dinners, or casual brunches. Impress your guests at holiday parties or backyard barbecues with this freshly baked loaf. It also works great for meal prep, adding a hearty component to your weekly meal plan. Whether it’s a picnic or a cozy night in, this bread is sure to elevate your experience.
Make Ahead & Storage
Enjoying homemade bread is wonderful, but planning ahead can enhance your culinary experience. Here’s how to manage your olive bread effectively:
Meal Prep
Prepare the dough ahead of time and let it rise in the fridge overnight. In the morning, simply shape and bake for a fresh loaf in no time.
Refrigeration
Store any leftover bread in an airtight container at room temperature for up to three days.
Freezing
Wrap the bread tightly in plastic wrap and then in foil. Freeze for up to three months, allowing you to pull out just what you need.
Reheating
Reheat slices in a toaster or warm in the oven at a low temperature to restore freshness and warmth.
FAQs
How should I store leftover olive bread?
Store leftover bread in an airtight container at room temperature for freshness, or freeze for longer storage.
Can I substitute other ingredients?
Yes, you can experiment with different olives, oils, or flours while ensuring the basic ratios remain consistent.
Why is my dough not rising?
Make sure your yeast is fresh and that the water used was warm, not hot, to keep the yeast alive.
Can I reheat this bread?
Absolutely! Toasting or warming in the oven is the perfect way to enjoy it again.
How do I know when the bread is done baking?
The bread should sound hollow when tapped on the bottom and appear golden brown on the crust.
Save This Recipe for Later
Don’t forget to bookmark this olive bread recipe! It’s a keeper for any bread-lover looking for ease and flavor in their kitchen.
Final Thoughts
This no-knead olive bread recipe offers an easy entry into the world of homemade baking. With its flavorful blend of olives and simple methods, you’ll find yourself reaching for this recipe time and again. Perfect for sharing or enjoying on your own, it pulls together beautifully with minimal effort. Get ready to impress friends and family or enjoy a comforting slice paired with your favorite dish!
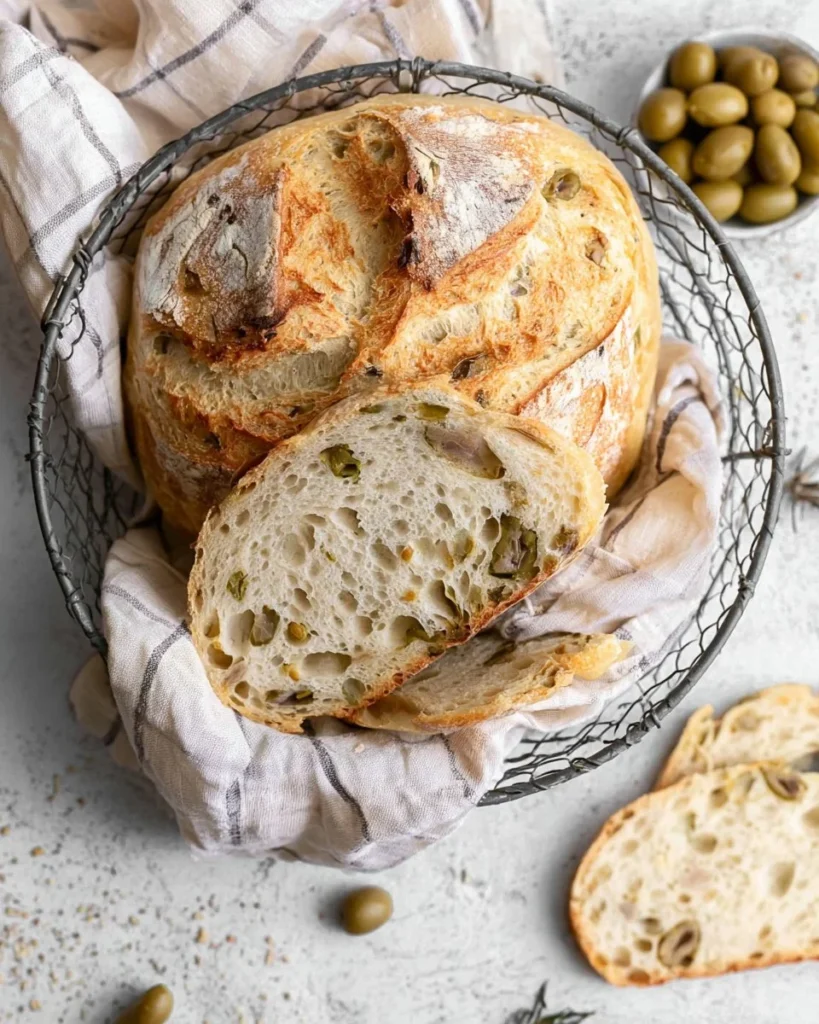
No-Knead Olive Bread
Ingredients
Method
- In a very large bowl, whisk the dry ingredients together until thoroughly combined.
- Create a well in the center and add the warm water, maple syrup, and the oil.
- Stir the water into the dry ingredients to form a dough, then add the olives and stir again until mixed.
- Lightly grease the sides of the bowl and turn the dough over to grease it, then cover and let it rise on your counter for 2 to 3 hours.
- In the last 30 to 40 minutes of rising, place your Dutch oven in the oven and preheat at 450°F.
- Flour a surface and pour the risen dough onto it, sprinkling some flour on top.
- Fold the dough on top of itself to tighten its shape, scoop it onto parchment paper, and shape it into a circle.
- Carefully place the dough into the preheated Dutch oven, cover, and bake for 45 minutes.
- Remove the lid and continue baking for an additional 15 to 20 minutes until the crust reaches your desired level.
- Transfer the bread to a wire rack to cool completely, slice, and serve.