Olive Bread – No Knead Recipe
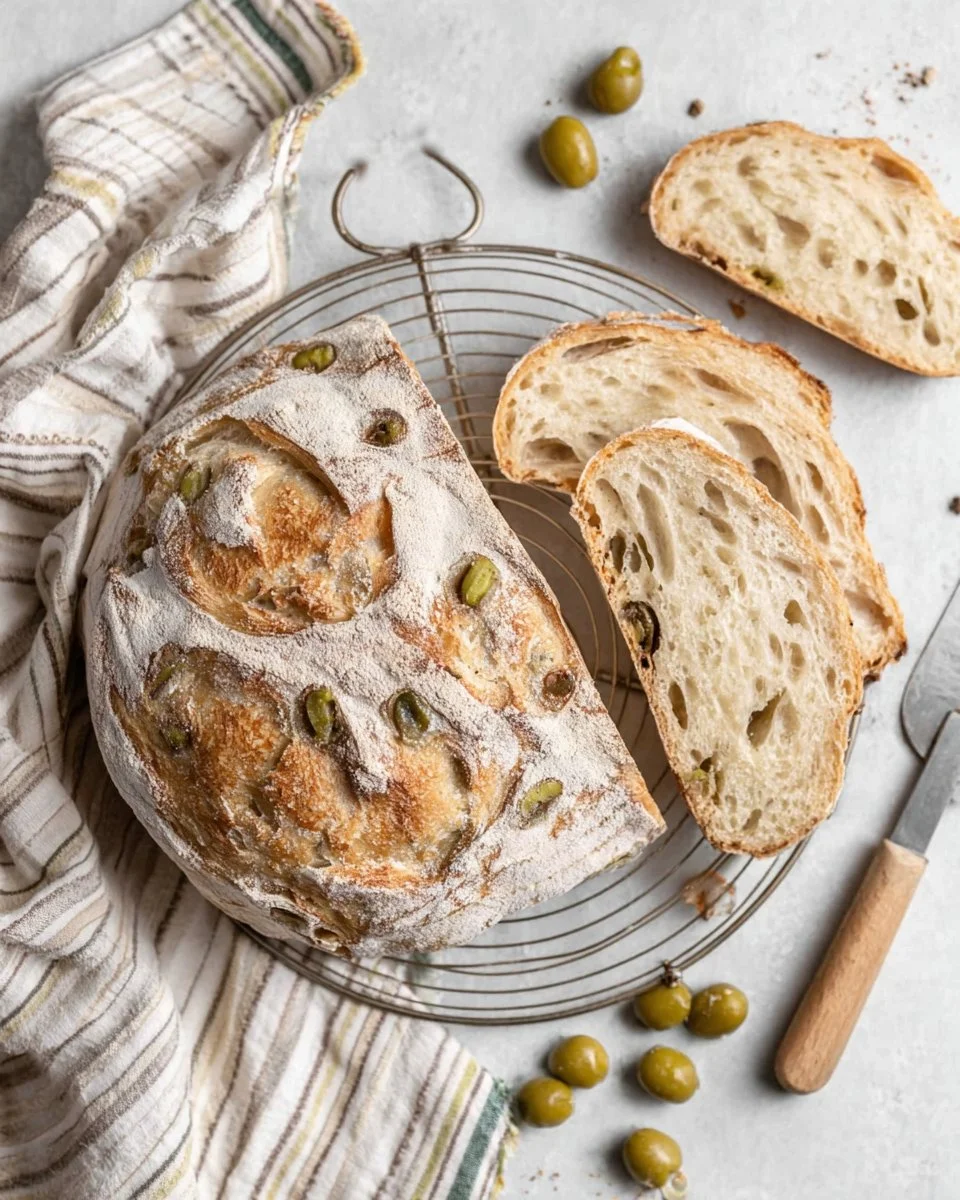
Baking homemade bread can feel like a daunting task, but the wonderful aroma of freshly baked olive bread wafting through your kitchen is the kind of magic that makes the effort worthwhile. Imagine pulling a golden-brown loaf from the oven, its crust crispy and crackling, while the soft, moist interior reveals pockets of juicy olives, adding a burst of flavor to every bite. This no-knead recipe is designed for anyone, from beginner bakers to seasoned pros, making it incredibly easy to whip up a loaf to complement your favorite dishes.
Whether you enjoy it warm with a smear of butter, as the base for a delicious sandwich, or served alongside a comforting soup, olive bread brings a unique twist to your table. You won’t need fancy equipment or hours of your time. With just a few simple ingredients and minimal effort, you’ll have a delightful bread that packs a punch of flavor and comfort for your family. Perfect for sharing on Pinterest, this recipe is sure to impress with its rustic beauty and irresistible taste!
Why You’ll Love This Recipe
This no-knead olive bread is a game-changer for those who crave the warmth and satisfaction of freshly baked bread without the hassle of traditional kneading. The simplicity of the ingredients, combined with the ease of preparation, makes it an ideal option for busy weeknights or leisurely weekend brunches. Imagine slicing into a loaf that not only tastes incredible but also gives your kitchen a charming, homey feel.
Moreover, the addition of olives offers a delightful savory note, making this bread a versatile addition to any meal. It pairs wonderfully with salads, dips, or even just a light drizzle of olive oil. Plus, the crunchy crust and tender crumb come together to create an enjoyable texture that will have everyone coming back for seconds. Say goodbye to store-bought bread and hello to this fresh, flavorful alternative!
What Makes This Recipe Special
What sets this olive bread apart is its effortless preparation and the deliciously complex flavor profile that results from the combination of simple ingredients. The use of instant yeast allows for a quicker rise, while the addition of warm water makes the dough come together easily, producing that classic rustic texture without a lot of work. Plus, the use of pimento olives not only adds a flavor punch but also introduces a pop of color to the final product.
This recipe is perfect for anyone who loves the taste of homemade bread but doesn’t have the time or energy for labor-intensive processes. It’s ideal for quick family meals or even as a side dish for entertaining guests at gatherings or holidays. What’s more, this olive bread can be customized with different types of olives or seasonings based on your taste preferences!
Ingredients
all-purpose flour: The main ingredient for structure and texture in your bread.
instant yeast: A quick-rising agent that helps the dough to rise easily and efficiently.
sea salt: Enhances the flavor and strengthens the dough.
very warm water: Activates the yeast and helps create the dough.
maple syrup or sugar: Adds a touch of sweetness to balance flavors.
olive oil: Provides moisture and richness to the bread.
pimento olives: Adds a savory flavor with chunks of olive throughout the bread.
How to Make Olive Bread – No Knead Recipe
STEP 1. Mix dry ingredients. In a very large bowl, whisk the flour, yeast, and salt together until combined.
STEP 2. Add wet ingredients. Create a well in the center and pour in the warm water, maple syrup, and olive oil.
STEP 3. Stir to combine. Mix the wet ingredients into the dry until a shaggy dough forms in about 1 minute.
STEP 4. Incorporate olives. Add the halved olives and stir until evenly distributed throughout the dough.
STEP 5. Prepare for rising. Grease the sides of the bowl lightly, then turn the dough in the bowl to coat.
STEP 6. Cover and rise. Cover the bowl with greased plastic wrap or a kitchen towel and let it rise for 2 to 3 hours until doubled in size.
STEP 7. Preheat the oven. In the last 30-40 minutes of rising, place your Dutch oven in the oven and preheat to 450°F/230°C.
STEP 8. Prepare the surface. After the dough has risen, flour a clean surface and gently pour the dough onto it.
STEP 9. Shape the dough. Sprinkle more flour on top and use a scraper to fold the dough over itself about 6 to 12 times to form a tighter shape.
STEP 10. Transfer to parchment. Scoop the dough onto a piece of parchment paper and shape it into a round loaf.
STEP 11. Score the bread. Use a sharp knife to make a shallow slit along the top of the loaf for decoration.
STEP 12. Bake the bread. Carefully place the loaf in the preheated Dutch oven, cover it with the lid, and bake for 45 minutes.
STEP 13. Finish baking. Remove the lid and bake for an additional 15-20 minutes until the crust is golden brown.
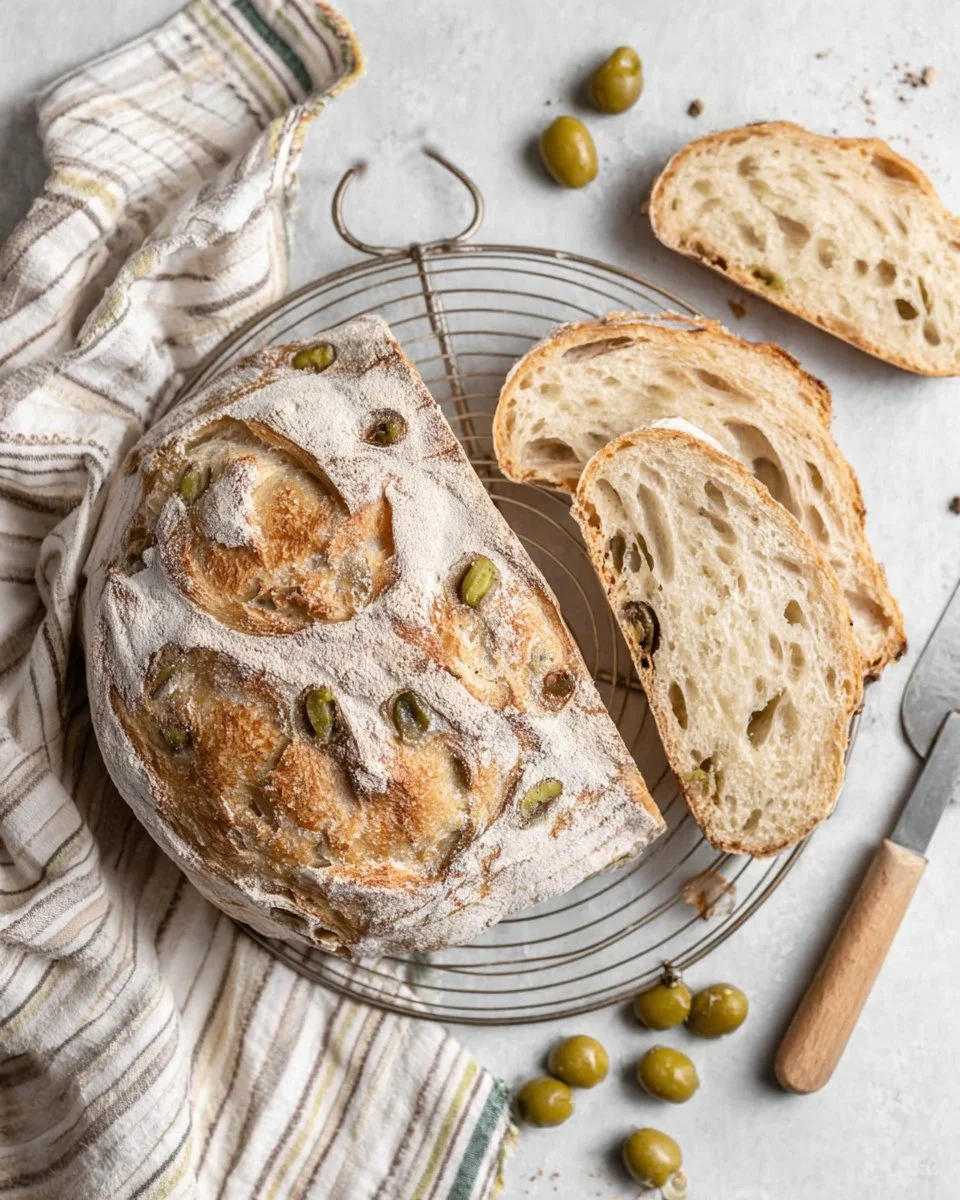
STEP 14. Cool the bread. Transfer the bread to a wire cooling rack and allow it to cool completely before slicing.
Pro Tips
To ensure your olive bread turns out perfectly every time, here are some helpful tips. Always use very warm water—not boiling—to activate the instant yeast without killing it. Additionally, consider using a kitchen thermometer to check the water temperature. This prevents the yeast from becoming inactive which can lead to dense bread. It’s also key to allow the dough enough time to rise—if your kitchen is cool, creating a warm environment in the oven can make a significant difference in the dough’s rise.
Make sure to handle the dough gently when shaping it to preserve the air bubbles that develop during fermentation; these are essential for a light and airy loaf. If you desire a more flavorful crust, try brushing the top of the bread with extra olive oil before baking! Let it cool completely to avoid gummy slices; the crust will harden, yielding perfectly tender slices. A generous 30 minutes of cooling time makes a difference in texture and flavor.
Common Mistakes to Avoid
When making olive bread, it’s crucial to avoid a few common pitfalls. First, don’t rush the rising process; if you don’t let the dough properly double in size, your bread might turn out dense and flat. Also, ensure your yeast is fresh; expired yeast can lead to a lackluster rise. Moreover, be cautious with flour—overworking the dough can lead to dry bread, so handle it as little as possible while shaping.
Another common mistake is not preheating the Dutch oven; placing cold or room-temperature cookware into a hot oven can cause it to crack. Lastly, resist the temptation to cut into the bread immediately after baking. Slicing while still warm can lead to a squished loaf rather than clean slices. Be patient; the wait is worth it!
Variations
• Substitute green olives for a different flavor profile.
• Add herbs like rosemary or thyme for an aromatic twist.
• Experiment with sun-dried tomatoes for a Mediterranean vibe.
• Use whole wheat flour for a healthier option.
• Incorporate cheese such as feta for added richness.
Serving Ideas
Olive bread shines on its own or as part of an elaborate spread. Serve it warm with a drizzle of balsamic glaze, a sprinkle of sea salt, or a side of olive oil for dipping. Pair it with a robust soup such as minestrone or a hearty stew for a comforting meal. You can also transform it into a delightful sandwich, layering it with fresh vegetables and spreadable cheese. For a snack, toast slices of the bread and top them with goat cheese and fresh herbs as an appetizing and savory treat!
Meal Prep & Storage
This olive bread is perfect for meal prep as it can be made ahead and stored for later enjoyment. Once completely cooled, wrap the loaf tightly in plastic wrap or foil and store it at room temperature for up to three days. For longer storage, consider slicing the bread and freezing it in an airtight container or freezer bag for up to three months. To enjoy, simply thaw slices at room temperature or pop them in the toaster to refresh their delightful flavor.
FAQs
Can I use regular yeast instead of instant yeast?
Yes, you can use active dry yeast instead. Just ensure to activate it in warm water before mixing it with the dry ingredients.
How can I tell if my dough has risen enough?
The dough should have doubled in size and have a few bubbles on the surface; it should look puffy and airy.
What should I do if my dough is too sticky?
If your dough is too sticky, lightly flour your hands and the work surface when handling it. Avoid adding too much flour, as this can make the bread dense.
Can I add other ingredients to the dough?
Absolutely! Feel free to customize your olive bread with ingredients like roasted garlic, sun-dried tomatoes, or different cheese varieties.
Is this recipe suitable for a gluten-free diet?
While this recipe is designed for all-purpose flour, you can experiment with gluten-free flour blends, though results may vary.
Conclusion
There’s nothing quite like the smell of fresh olive bread filling your kitchen, and with this no-knead recipe, it’s never been easier to create a delicious loaf. Perfectly crispy on the outside and soft on the inside, it’s ideal for any occasion. Your family and friends will be delighted to share in the experience of homemade goodness, making every meal feel special. Enjoy this delightful bread, and savor the love that comes with baking from scratch!
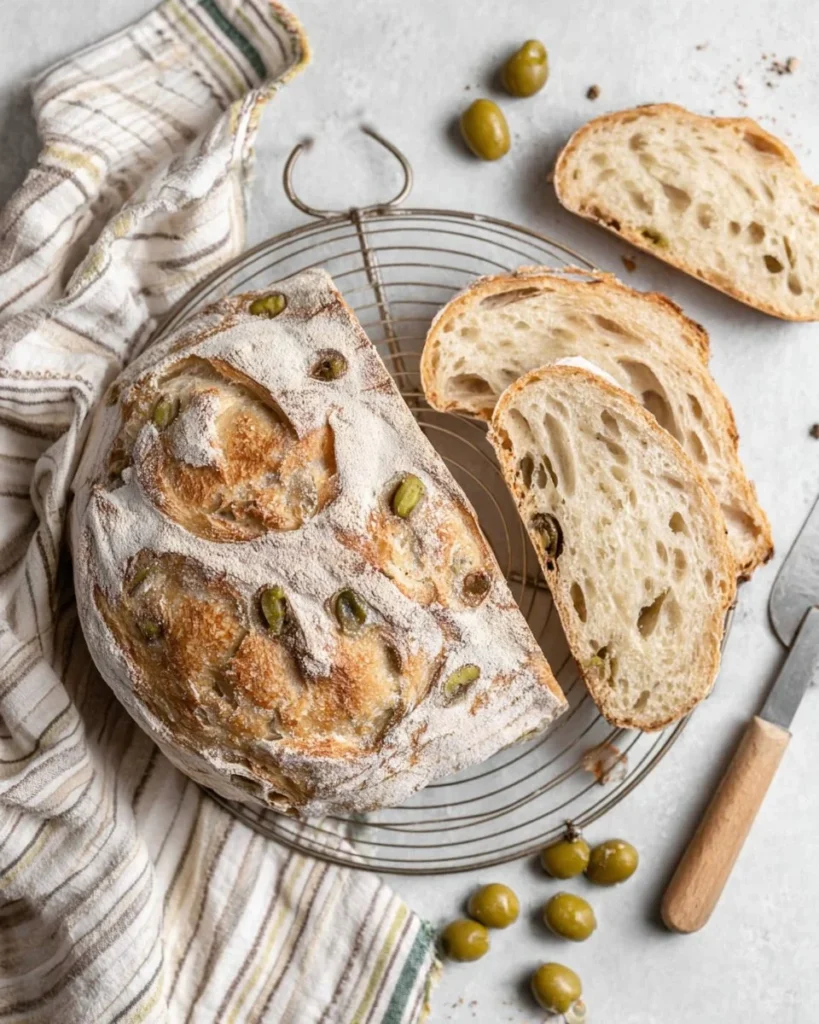
Olive Bread
Ingredients
Method
- In a very large bowl, whisk the flour, yeast, and salt together until combined.
- Create a well in the center and pour in the warm water, maple syrup, and olive oil.
- Mix the wet ingredients into the dry until a shaggy dough forms in about 1 minute.
- Add the halved olives and stir until evenly distributed throughout the dough.
- Grease the sides of the bowl lightly, then turn the dough in the bowl to coat.
- Cover the bowl with greased plastic wrap or a kitchen towel and let it rise for 2 to 3 hours until doubled in size.
- In the last 30-40 minutes of rising, preheat your oven to 450°F/230°C with a Dutch oven inside.
- Flour a clean surface and gently pour the dough onto it.
- Sprinkle more flour on top and use a scraper to fold the dough over itself about 6 to 12 times to form a tighter shape.
- Scoop the dough onto a piece of parchment paper and shape it into a round loaf.
- Use a sharp knife to make a shallow slit along the top of the loaf for decoration.
- Carefully place the loaf in the preheated Dutch oven, cover it with the lid, and bake for 45 minutes.
- Remove the lid and bake for an additional 15-20 minutes until the crust is golden brown.
- Transfer the bread to a wire cooling rack and allow it to cool completely before slicing.