Easy Artisan Bread Recipe
Artisan bread has a reputation for being difficult to make, but this Easy Artisan Bread Recipe shows just how simple it can be. With just a handful of ingredients and minimal effort, you can produce a beautiful, crusty loaf that rivals those from your favorite bakery. The secret lies in the long fermentation process and the use of a Dutch oven, which mimics the steam of a professional oven. As you mix, let rise, and bake, you will enjoy the satisfying process of creating something truly special.
This recipe allows for some flexibility—you can refrigerate the dough after its first rise, giving you the freedom to bake whenever you like. Whether you’re making it for a family dinner, a cozy brunch, or simply for your enjoyment, this artisan bread brings warmth and a delightful aroma to your kitchen. Perfect for sandwiches or just enjoyed with a bit of butter, it’s a staple everyone should try making at home.
Quick Answer
This Easy Artisan Bread Recipe is a straightforward way to bake artisan-style bread at home. It involves combining simple ingredients, letting the dough rise, and then baking in a preheated Dutch oven for a crusty finish. You’ll enjoy fresh, homemade bread without too much hassle!
Why You’ll Love This Recipe
If you’ve ever wanted to bake bread but felt intimidated, this Easy Artisan Bread Recipe is the perfect place to start. It requires minimal kneading and uses straightforward techniques like mixing and folding. The long fermentation time develops rich flavors and a chewy texture that is hard to resist. Plus, you can make the dough ahead of time and refrigerate it—perfect for busy schedules!
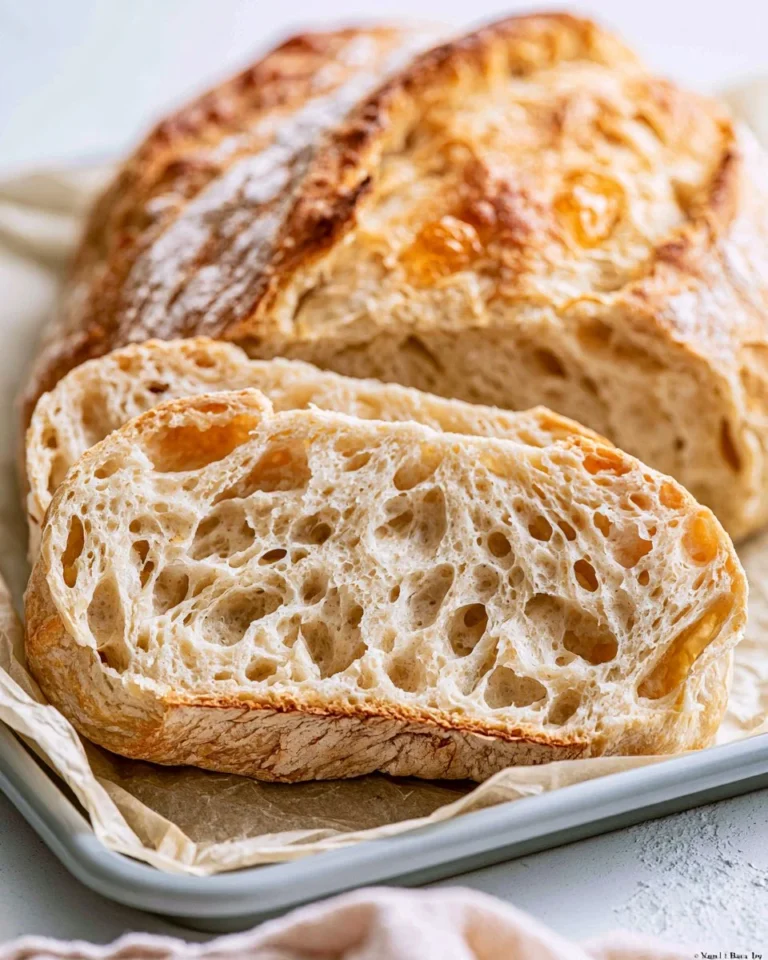
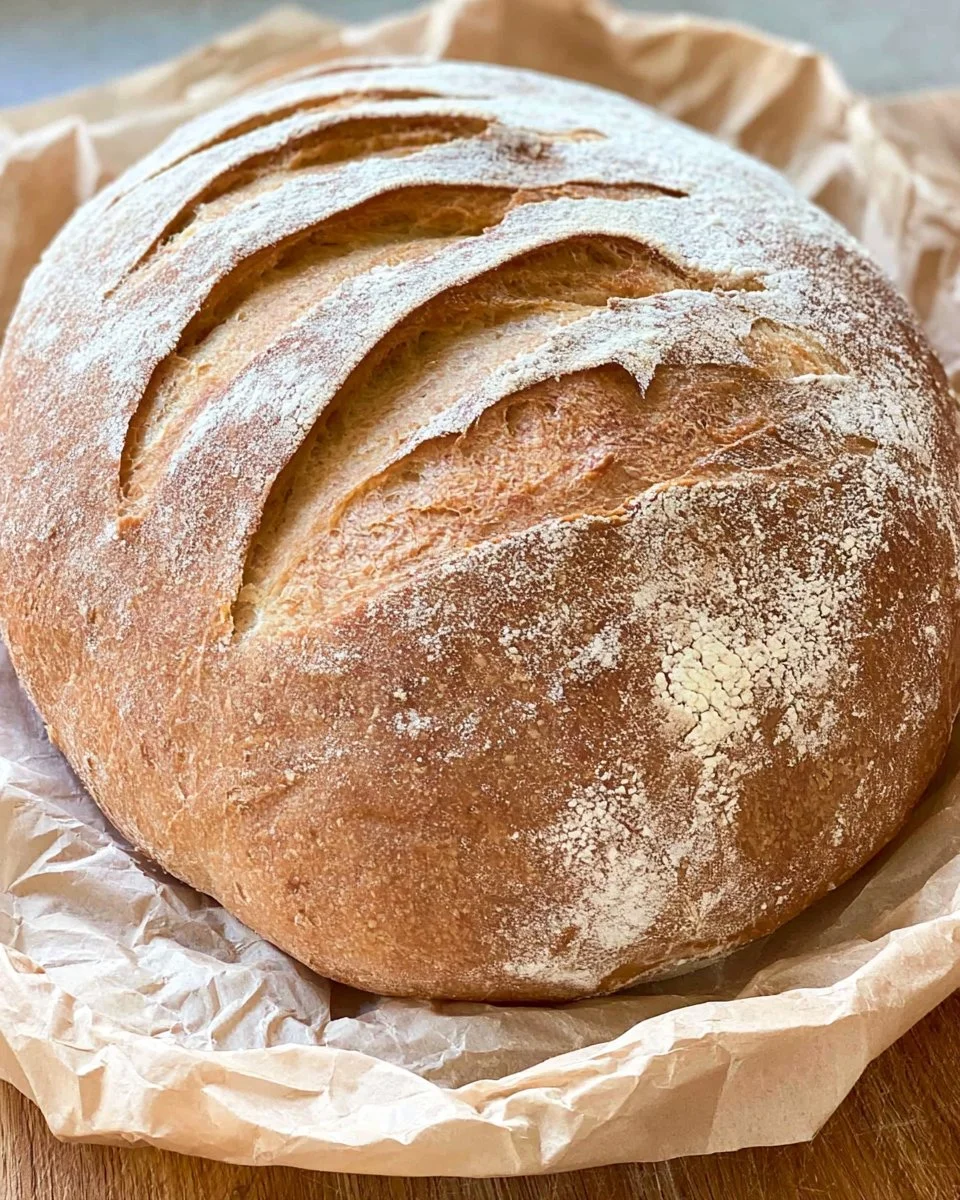
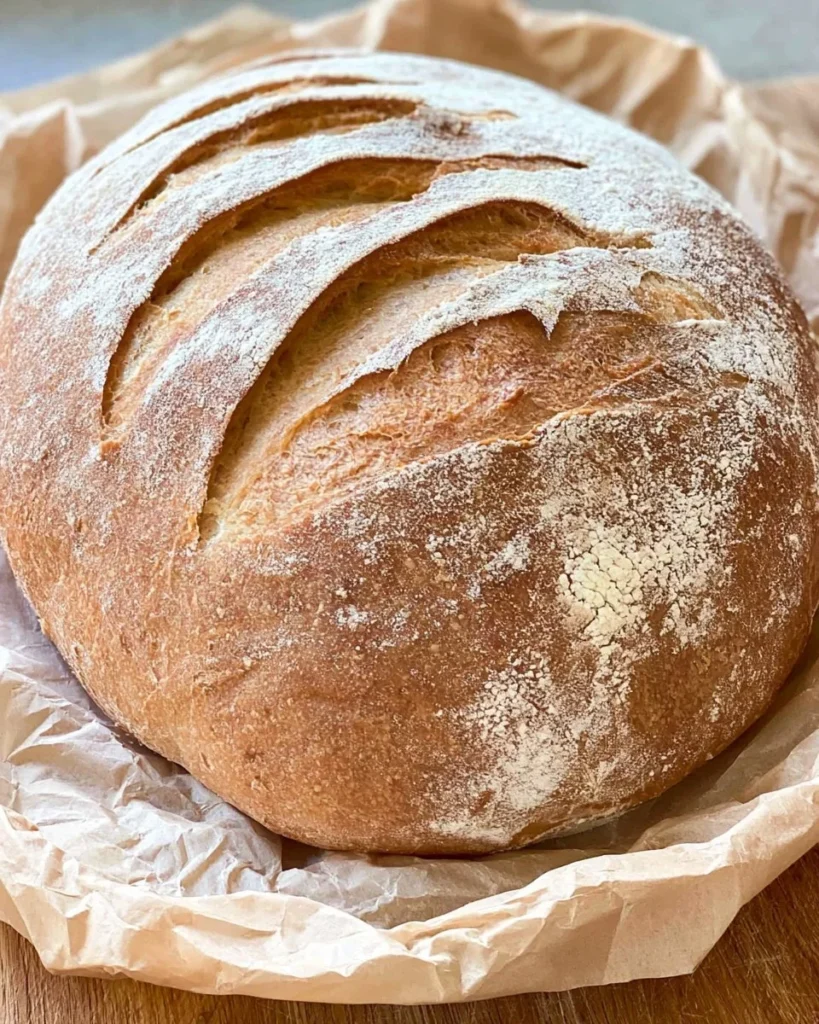
This recipe yields a hearty loaf that is crispy on the outside and soft on the inside, making it a versatile addition to any meal. Whether slathered with butter, used for sandwiches, or toasted with jam, it’s bound to become a favorite in your household. Plus, the satisfaction of pulling a freshly baked loaf from your oven is an experience worth any small amount of effort. You’ll not only save money by making your own bread but also impress friends and family with your newfound baking skills!
What Makes This Recipe Special
This Easy Artisan Bread Recipe stands out because it combines simplicity with authentic artisan qualities. Unlike traditional bread baking, which can require extensive kneading and precise timing, this recipe allows you to focus on the fermentation aspect, which enhances the flavor without the need for complex techniques.
The use of a Dutch oven is a game-changer, allowing for a higher humidity environment while the bread bakes, leading to that desirable crispy crust and airy interior. Additionally, the option to refrigerate the dough extends its usability, enabling you to bake fresh bread when it suits you best. It’s an approachable way for anyone to enjoy homemade artisan bread with minimal fuss!
Kitchen Tools You’ll Need
- Large bowl: For mixing the dough and allowing it to rise.
- Serrated knife: For slashing the top of the loaf before baking.
- Dutch oven: Essential for creating the perfect baking environment.
- Parchment paper: To transfer the dough easily into the Dutch oven.
- Cookie sheet or round skillet: If you need to shape the dough before baking.
Ingredients
- warm water: Activates the yeast.
- yeast: Provides leavening for the bread.
- salt: Enhances flavor and controls fermentation.
- whole wheat flour: Adds nutrition and flavor.
- unbleached all-purpose flour: Contributes to the dough’s structure and texture.
How to Make Easy Artisan Bread Recipe
STEP 1. Mix yeast and water. Put the yeast and salt in a bowl and add the warm water.
STEP 2. Add flour. Add all the flour and mix until combined. Then mix at a higher speed 30 seconds to 1 minute as a quick knead (or by hand for a minute, or you can choose to do a series of stretches and folds while it’s rising).
STEP 3. Let rise. Put in a LARGE bowl and cover with plastic or other non-porous cover (not airtight). Let set at room temperature for about 1½ hours – it should double or more.
STEP 4. Refrigerate or bake. Put in the refrigerator for up to a week or week-and-a-half, OR bake right away – cut off what you need, shape, and let sit while the Dutch oven heats.
STEP 5. Preheat Dutch oven. When ready to bake, place an enameled Dutch oven, with lid, in a 450-degree oven.
STEP 6. Shape the dough. Dust the dough with flour, grab half the dough and cut it off with a serrated knife. Using well-floured hands, shape gently into a ball and place on a piece of parchment paper resting on a cookie sheet or in a small round skillet to help shape. Dust the top with more flour.
STEP 7. Let sit. Let sit on the counter 30 minutes if baking the day of making, or 1 hour if the dough was refrigerated. Then slash the top of the loaf with a serrated knife.
STEP 8. Bake the bread. Transfer the loaf to the hot Dutch oven using the edges of the parchment, replace the lid, and cook for 15 to 17 minutes.
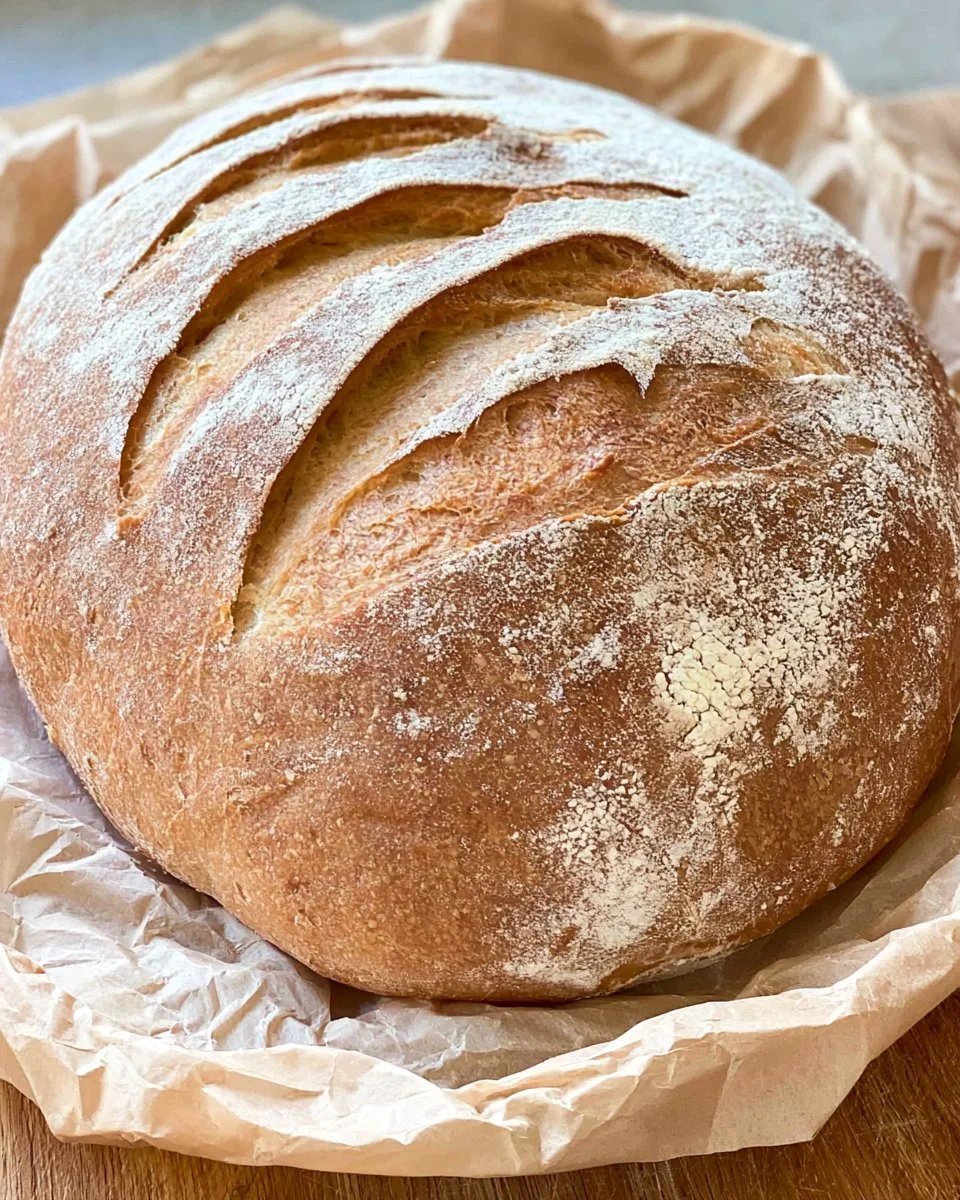
STEP 9. Finish baking. Remove lid and continue to cook for another 15 to 17 minutes, or until the loaf is golden brown.
STEP 10. Cool. Remove to a cooling rack for 30 to 60 minutes before cutting.
Why This Recipe Works
This Easy Artisan Bread Recipe works because of its simplicity and the science behind bread making. The long rise allows the gluten to develop naturally, leading to a chewy texture without intensive kneading. The yeast creates air pockets within the dough, leading to a light, airy loaf. The use of a Dutch oven allows the crust to form beautifully while keeping the bread moist. This recipe also utilizes ingredients that many might have at home, making it an accessible option for novice and experienced bakers alike. It’s a foolproof way to attain delicious, crusty bread with minimal effort, making it a joy to prepare!
Pro Tips for Best Results
For the best results with your Easy Artisan Bread Recipe, consider these tips:
- Use a thermometer to check the temperature of your water; it should be warm, not hot—ideally around 110°F (43°C) to activate the yeast without killing it.
- Make sure to let the dough rise in a warm, draft-free area for optimal fermentation.
- Don’t rush the shaping step; gentle handling helps maintain air pockets.
- Experiment with different flours—mixing a bit of rye or spelt can add unique flavors.
- Invest in a good Dutch oven; it’s key for that perfect crust!
Common Mistakes to Avoid
While making Easy Artisan Bread, there are a few common pitfalls to watch for:
- Not using enough water can lead to a dry loaf. The dough should be slightly sticky, so don’t be afraid to add a little more if needed.
- Covering the dough too tightly during the rise can trap too much moisture, leading to a dense texture.
- Skipping the slash on top before baking can prevent the bread from rising properly in the oven.
- Opening the oven too early during baking can cause the temperature to drop, affecting your crust.
- Not allowing the loaf to cool completely before slicing can make it gummy.
Recipe Variations
This Easy Artisan Bread Recipe is perfect for adaptations. Here are some fun ideas to get creative:
- Herb bread: Add dried herbs like rosemary or thyme to the dough for a fragrant twist.
- Cheesy bread: Fold in shredded cheese before the final rise for a deliciously cheesy crust.
- Seeded crust: Before baking, sprinkle the top with sesame, poppy, or flax seeds for an extra crunch.
- Sweet bread: Incorporate a little sugar and cinnamon for a sweeter treat, perfect for breakfast.
- Whole grain blend: Combine different types of whole grains or specialty flours for unique flavors and textures.
Nutrition Highlights
| Nutrient | Amount per serving |
|---|---|
| Calories | 200 |
| Protein | 6g |
| Carbohydrates | 40g |
| Fiber | 3g |
| Sodium | 250mg |
How to Serve Easy Artisan Bread Recipe
Easy Artisan Bread is incredibly versatile and can be served in various ways. Simply enjoy it warm with buttery spreads or use it as a base for sandwiches filled with your favorite ingredients. You can slice it for toasted bruschetta topped with tomatoes and basil or serve it alongside soups and salads to soak up delicious broths. Pairing it with olive oil for dipping or creating a hearty bread bowl for chowder are also delightful options!
Best Occasions for This Recipe
This Easy Artisan Bread Recipe is perfect for numerous occasions. It shines at family gatherings, holiday meals, or even casual weekend brunches. It’s also great for cozy nights in, serving alongside your favorite movie snack, or when hosting friends for dinner. With its rustic look and inviting aroma, it sets the stage for any meal. It’s suitable for both everyday dining and special celebrations, ensuring everyone enjoys a slice of homemade goodness!
Make Ahead & Storage
This artisan bread can be prepared ahead of time and stored for later enjoyment.
Meal Prep
You can prepare the dough in advance, allowing it to ferment in the refrigerator. This gives you the flexibility to bake fresh bread whenever you want, even a week later.
Refrigeration
To store the dough, simply cover it well in a non-porous container and place it in the fridge. It can last up to a week, developing flavor as it ferments.
Freezing
If you have leftover bread, it can be frozen. Wrap it tightly in plastic wrap and then in foil, ensuring no air can get in. It will maintain quality for about three months.
Reheating
To reheat, simply thaw if frozen and warm the bread in a preheated oven at 350°F (175°C) for about 10-15 minutes to restore its crustiness.
FAQs
Can I use regular yeast instead of instant yeast? Yes, you can use regular yeast; just remember to proof it in warm water before mixing with the other ingredients.
How do I know when my bread is done baking? The bread should be golden brown on top, and if you tap the bottom, it should sound hollow.
Why is my bread dense? Density can be due to insufficient rising time or too much flour in the dough. Be sure to measure accurately and allow for proper fermentation.
Can I double the recipe? Yes, you can double the ingredients to make two loaves. Just ensure you have enough room for them to rise and bake.
Is artisan bread gluten-free? This recipe is not gluten-free, but you can experiment with gluten-free flour blends if needed, keeping in mind the results may vary.
Save This Recipe for Later
If you’re eager to try this Easy Artisan Bread Recipe, bookmark it or share it with friends. It’s a fantastic addition to your recipe collection and guaranteed to impress anyone who tries it.
Final Thoughts
Baking your own bread is a rewarding experience, and this Easy Artisan Bread Recipe is perfect for beginners and seasoned bakers alike. With simple ingredients and a few easy steps, you’ll create a delicious loaf that will elevate any meal. Enjoy the process, experiment with variations, and savor the wonderful taste of freshly baked homemade bread!
Easy Artisan Bread
Ingredients
Method
- Mix yeast and salt in a bowl and add warm water.
- Add all the flour and mix until combined.
- Mix at a higher speed for 30 seconds to 1 minute, or knead by hand for a minute.
- Place in a large bowl and cover with plastic wrap. Let set at room temperature for about 1.5 hours until it doubles in size.
- Optionally refrigerate the dough for up to a week or bake right away.
- Preheat a Dutch oven in a 450°F oven.
- Dust the dough with flour, cut off half, and shape into a ball on parchment paper.
- Let sit on the counter for 30 minutes if fresh or 1 hour if refrigerated.
- Slash the top of the loaf with a serrated knife.
- Transfer to the hot Dutch oven, cover with a lid and bake for 15 to 17 minutes.
- Remove lid and continue to bake for another 15 to 17 minutes until golden brown.
- Remove from the Dutch oven and cool on a rack for 30 to 60 minutes before slicing.